
Last updated October 16, 2026
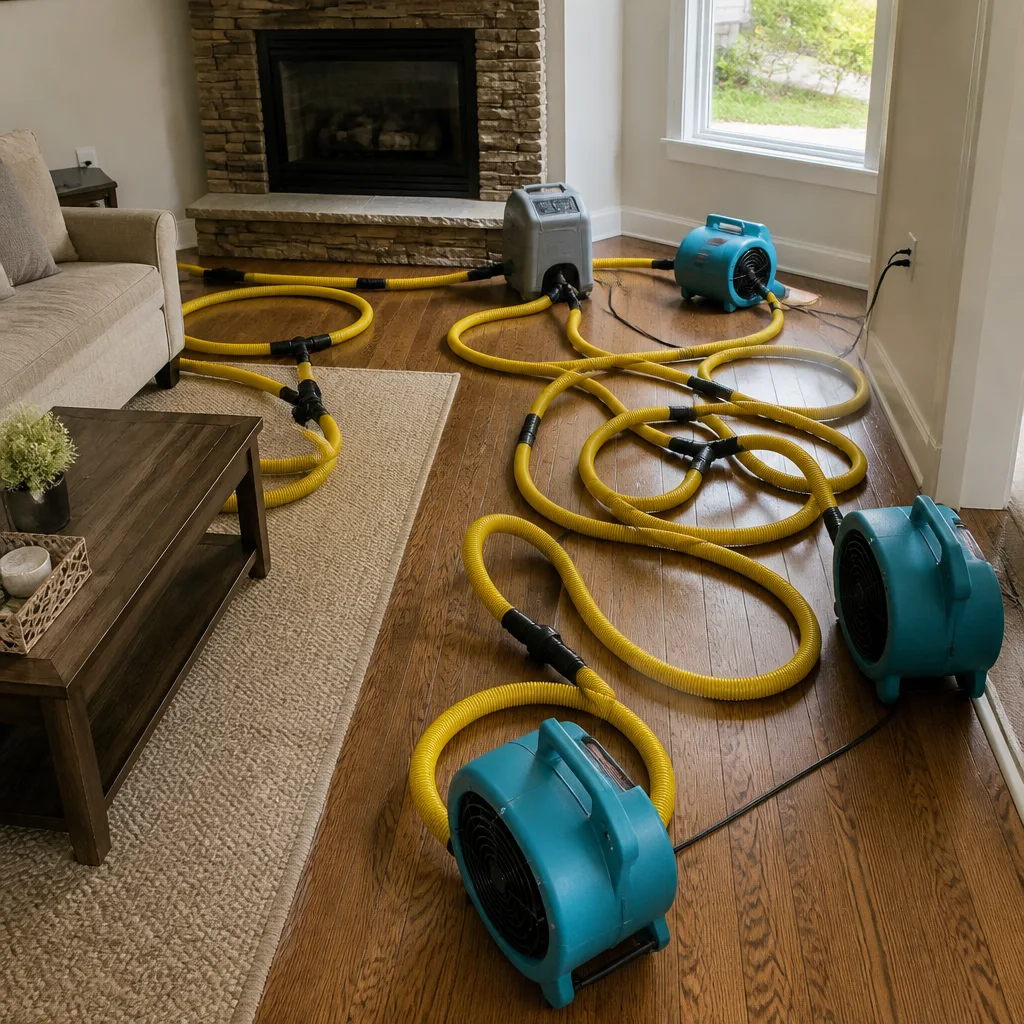 Water damage drying
 Fire & smoke cleanup
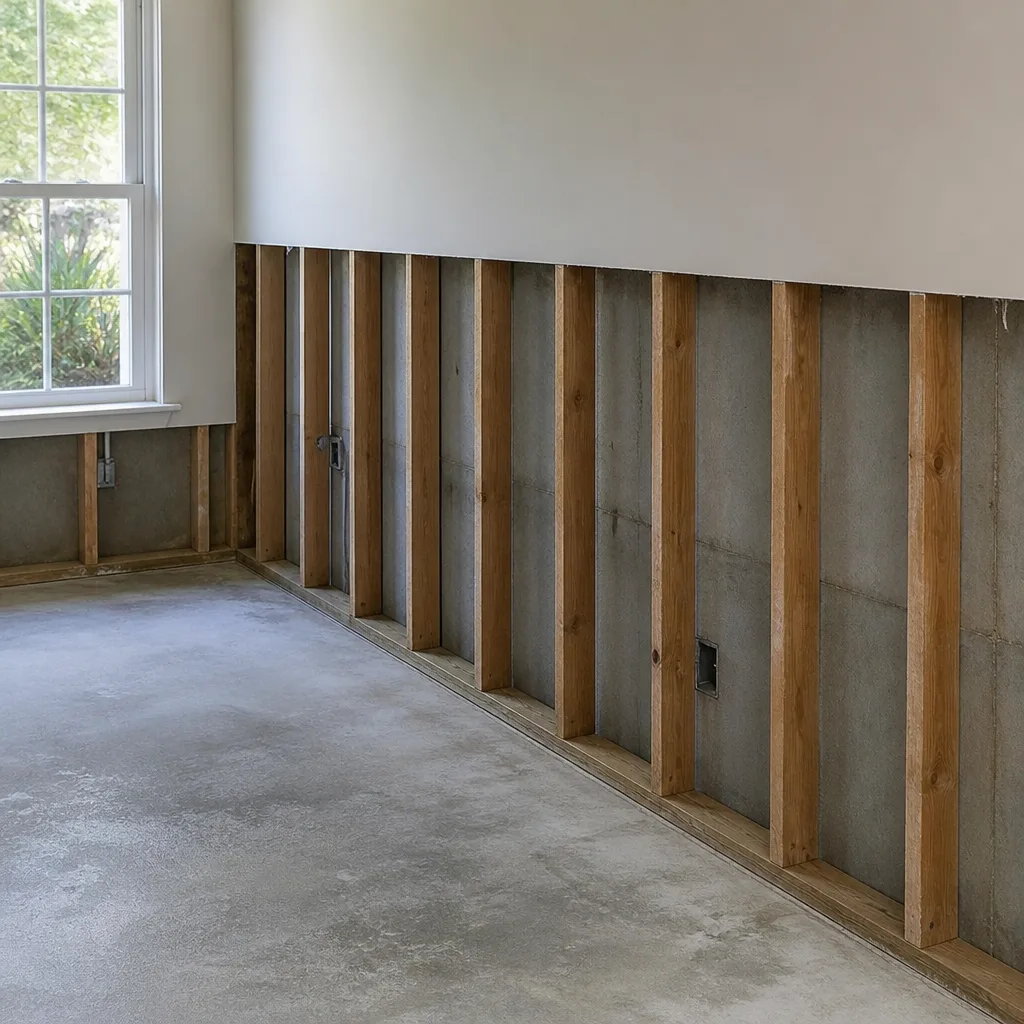 Mold remediation
 Storm response
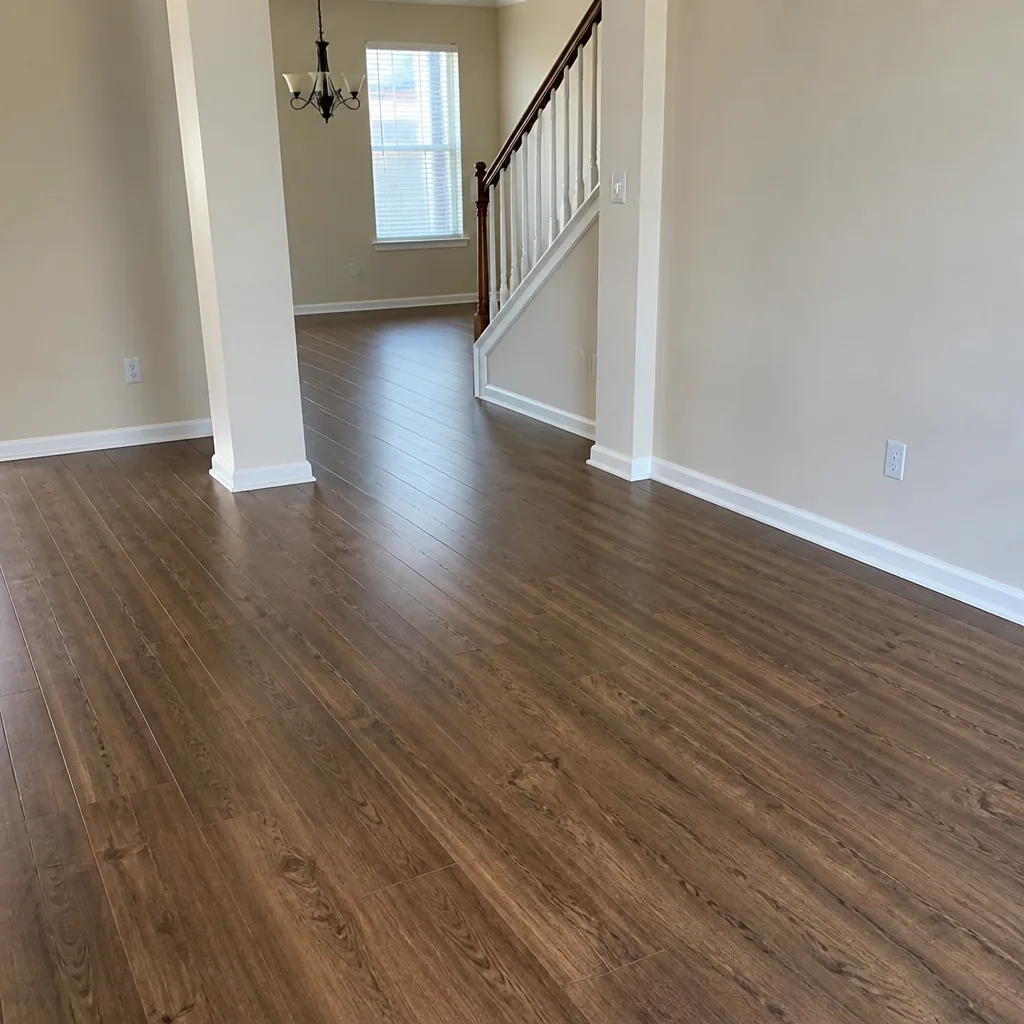 Sewage cleanup
 Reconstruction
Free visual inspection and a written scope of work before any mitigation begins - photos, moisture readings, and drying logs go in your claim file
The scope we write is the scope we bill. Anything new gets shown to you, in writing, before we touch it.
Get your free estimateWater Damage Restoration Maintenance Checklist for Queens Homeowners
The most common water damage call in Queens each spring isn’t from a burst pipe. It’s from a slow roof drain backup that went unnoticed all winter because the owner assumed the building super had cleared it. That assumption, repeated across thousands of attached brick row houses, garden apartments, and post-war co-ops, is why March and April keep restoration crews in Queens busier than any frozen pipe ever could. This guide walks through the maintenance checkpoints that actually matter in this borough: flat roof drains, shared sump pits, sidewalk depressions, and the seasonal freeze-thaw cycle that punishes every exterior surface. You’ll leave with a room-by-room checklist, a seasonal log template, and a clear sense of which problems are yours to fix and which ones belong to the city or your co-op board.
Quick Answer
A water damage prevention maintenance checklist for a Queens homeowner starts with flat roof drains and parapet flashing in autumn, moves indoors to sump pumps and supply lines before winter, and includes a documented seasonal log that proves you maintained the property. The three highest-risk areas are roof drainage, basement perimeter walls, and any plumbing running through uninsulated exterior walls.
Restoration work we handle
Table of Contents
- Why Queens Maintenance Advice Is Different
- Knowing What’s Yours: Homeowner vs. City vs. Co-op Responsibility
- The Room-by-Room Queens Maintenance Checklist
- Flat Roof Inspection: Modified Bitumen and Built-Up Systems
- Testing a Shared or Building-Level Sump Pump
- The Seasonal Log Template (Your Insurance Paper Trail)
Why Queens Maintenance Advice Is Different
Most water damage prevention content online is written for single-family suburban homes with pitched shingle roofs, private sump pits in the basement corner, and a homeowner who controls every square inch of the property. Queens is a different beast. A row house in Ridgewood shares a party wall with the building next door. A garden apartment in Sunnyside sits below grade with a floor drain that ties into a shared line. A post-war co-op in Forest Hills has a roof membrane that no individual shareholder can legally walk on. The failure points are different, the responsible parties are different, and the calendar is different: our heaviest rain months are July and August, but our most damaging water events are usually January freeze-thaw cycles and March snowmelt.
We’ve spent years working water damage jobs across Queens, and the patterns repeat. The flat roof drain on a brick rowhouse clogs with leaves in October, fills with ice in January, and by March the water has found its way through a parapet crack and down the interior wall. The homeowner notices the paint bubbling in April, but the damage started five months earlier. A maintenance checklist that only says “clean your gutters” misses all of that. This guide is built around what actually fails here, in this borough, in these buildings.
Knowing What’s Yours: Homeowner vs. City vs. Co-op Responsibility
Before you touch anything, know who owns the problem. In Queens, water damage prevention often stalls because nobody is sure who should be maintaining what. Here’s the breakdown as we see it in the field every week:
What the Homeowner Owns
- Interior plumbing: Supply lines, shutoff valves, fixtures, and any piping inside the walls of your unit or house. If a supply line under your kitchen sink fails, that’s on you.
- Private roof drains (private homes): If you own a detached or semi-detached home with a flat roof, the roof membrane, parapet flashing, and roof drains are your responsibility. A private rowhouse in Maspeth with a modified bitumen roof needs its drains cleared twice a year, and the bill is yours.
- Basement waterproofing: Interior perimeter drains, sump pump discharge lines, and any waterproofing applied to interior foundation walls are yours. If the sump pump in your private basement fails, the water damage claim is yours too.
- Window wells and below-grade window frames: In garden apartments and basement units, the window well drains and the caulking around below-grade windows are typically the unit owner’s responsibility unless the proprietary lease says otherwise.
What the Co-op or Condo Board Owns
- Building roof and roof drains: In co-op and condo buildings, the roof belongs to the corporation. But here’s the catch: the shareholder still has to report the problem. In our experience, the most common co-op water damage scenario is a blocked roof drain that no one reports because each unit owner assumes the super already knows. The super doesn’t know. When you see pooling water on a flat roof you can view from your window, call the management office and put it in writing.
- Shared sump pits and building-level pumps: In many post-war co-ops, the sump pit in the basement is shared infrastructure. You can’t replace the pump yourself, but you can document its condition before storm season. More on that below.
- Exterior brick pointing and parapet walls: The building envelope is corporate property in co-ops. Cracked parapet flashing that lets water into top-floor units is a building repair, not a unit repair. Report it in writing and keep a copy.
What the City Owns (NYC DEP and DOB)
- Street and sidewalk drains: The catch basins at the curb are maintained by the NYC Department of Environmental Protection. If the curb drain in front of your house is clogged and water is pooling against your foundation, you can report it to 311. But here’s the nuance: property owners are responsible for keeping the sidewalk in front of their property clear of debris that blocks the drain. You don’t maintain the drain itself, but you do have to clear the leaves and garbage sitting on top of it. It’s a shared responsibility that most homeowners don’t know about until water is backing up against the front wall.
- Street sewer lines: The sewer main under the street belongs to the city. The lateral line from your house to the street main is yours. If the street main backs up, it’s a DEP problem. If your lateral collapses, it’s yours. Knowing the difference matters because the repair costs are wildly different.
For water damage restoration work after something fails, our team at Water Damage Restoration in Queens sees every version of this scenario, and the documentation you kept before the event always makes the claim smoother.
The Room-by-Room Queens Maintenance Checklist
This is the section you’ll want to screenshot or print. It’s organized by room and by season, and every item is tied to a failure mode we’ve actually seen in Queens homes. Set aside one weekend morning in October and one in April. That’s the whole time commitment for most homes.
Basement and Cellar (Highest Priority in Queens)
In a borough where so many homes are built on high water tables and in former marshland, the basement is the front line. Flushing, Maspeth, and parts of the Rockaways sit on land that wants to be wet. Your basement maintenance routine is what keeps it dry.
- Test the sump pump twice a year (October and March). Pour two or three gallons of water into the pit slowly until the float activates. Listen for the pump to cycle on and verify the water is actually discharging outside, not recirculating into the pit. A pump that runs but doesn’t move water has a check valve problem or a frozen discharge line. Replace the check valve every five years, even if it looks fine.
- Inspect perimeter walls for efflorescence and new stains. Efflorescence is the white chalky powder that appears when water evaporates from masonry. New efflorescence means water is still moving through the wall. Old efflorescence that hasn’t grown means the leak may have stopped. Track it with photos and dates.
- Check the floor drain for debris, and pour a half-gallon of water down it every six months. The trap can dry out in winter, which lets sewer gas in and makes the drain ineffective when you need it. In garden apartments where the floor drain ties into a shared line, this is especially important because a dry trap in one unit can expose the whole building to sewer odor.
- Verify the main shutoff valve works. Turn it a quarter turn each direction. If it’s frozen open, you’ll find out at the worst possible moment. Replace it now, when there’s no emergency.
- Look at the water heater for rust, puddles, or a bulging tank. Water heaters in Queens basements typically last eight to twelve years. A puddle under the tank, even a small one, means the tank is approaching failure. The cost of a new water heater is a fraction of the cost of a flooded basement in the middle of the night. Two of the biggest water damage jobs we see in Queens every winter are water heaters that were ten years old and “still working fine.”
Kitchen and Bathroom
These rooms are where slow leaks do their quiet work. The damage often starts behind a cabinet or inside a wall cavity, out of sight until the drywall fails. The Tidemark Water Damage Queens home approach is built around finding that kind of damage before it becomes a full restoration.
- Inspect every shutoff valve under every sink, at every toilet, and behind the washing machine. Look for green corrosion, white mineral deposits, or any sign of moisture around the valve stem. Turn each valve off and on again once a year. A valve that hasn’t been cycled in ten years may seize closed, which means a minor leak becomes a full emergency because you can’t stop the water.
- Replace braided stainless steel supply lines on a schedule. These are the flexible hoses that connect your faucet and toilet to the wall valves. They fail catastrophically, without warning, and they account for a staggering share of kitchen and bathroom floods. The rubber washer inside degrades over time. Replace every supply line in your home every eight to ten years, even if they look perfect. A pair of supply lines costs under twenty dollars. The flood they prevent costs thousands.
- Re-caulk around tubs, showers, and the base of toilets every two to three years. Caulk is a maintenance item, not a permanent fixture. When it cracks and shrinks, water gets behind the tub and under the tile. In attached brick row houses, that moisture often travels into the party wall, which means the neighbor’s unit starts showing damage too. That’s a conversation no one wants to have.
- Check for soft spots in the floor around the toilet and tub. Press down with your foot on the floorboards near the toilet flange. Any give, any sponginess, any creak that wasn’t there before is a sign that water has already compromised the subfloor. The longer you wait, the more of the floor has to come out.
- Run the bathroom exhaust fan during every shower, and clean the fan grille quarterly. Condensation is water damage too. A bathroom that routinely fogs up and drips moisture down the walls will eventually grow mold behind the paint. If your exhaust fan is original to the building and you live in a post-war co-op, it may not be moving enough air. A simple upgrade makes a meaningful difference in the moisture load on the room.
Laundry Area
- Replace washing machine hoses every five years. Rubber hoses are the old standard and they burst. Braided stainless steel hoses are better. Either way, they’re a wear item. The washing machine runs when you’re not home, and a burst hose can dump hundreds of gallons in an afternoon. If your laundry is on an upper floor of a Queens house, the stakes are even higher.
- Install a water alarm and a manual shutoff valve if you can reach the supply lines. A water alarm costs around fifteen dollars and sits on the floor behind the machine. It beeps when it gets wet. That’s fifteen dollars against a potential five-figure restoration.
- Don’t run the washing machine when you’re asleep or away from home. This is one of the simplest habits and one of the most effective. If a hose fails while you’re home and awake, you catch it in minutes. If it fails while you’re asleep, the machine drains into your floor for hours before anyone notices. This is a rule we live by in our own houses.
Windows, Doors, and Exterior Walls
Queens houses are often old enough that the original window frames are built into the same wood sheathing that holds up the siding. When water gets in around a window, it travels laterally through that sheathing. By the time you see peeling paint inside, the water has usually been working for months.
- Inspect exterior caulking around every window and door frame once a year. Look for gaps, cracking, or caulk that has pulled away from the brick or siding. Pay special attention to the top corners of windows, where water runs down the wall and sits against the sealant.
- Check aluminum siding for loose or missing pieces. In neighborhoods like Astoria and Jackson Heights, original wood siding is often covered with aluminum. That aluminum is doing a job: shedding water. When a piece comes loose, water gets behind it and sits against the wood sheathing, trapped, sometimes for years. It’s one of the most common hidden mold sources we find on Mold Remediation in Queens jobs.
- Verify that window well drains are clear. For garden apartments and below-grade units, the window well is a bucket that collects water. If the drain in the bottom of that bucket is clogged, the bucket overflows into the wall cavity. Clear it in October and April, and after every major storm if you can.
- Make sure the soil grade slopes away from the foundation. Over time, soil settles. What was once a good slope can turn into a gentle bowl that directs water toward the house. If you can, add soil to restore a grade that falls about six inches over the first ten feet from the wall. This is a DIY fix for most properties, but on co-op property, it’s building work and you should raise it with the board.
Flat Roof Inspection: Modified Bitumen and Built-Up Systems
Most Queens flat roofs are either modified bitumen (mod bit) or built-up roofing (BUR). Mod bit is an asphalt-based membrane, often with a mineral surface, common on rowhouses and smaller buildings. Built-up roofing is the old-school tar and gravel system, still found on many co-op buildings and older multi-family homes. Both systems share the same failure mode: water ponds, finds a seam or a crack, and works its way through. On the roof, the most important thing you can do as a homeowner is keep the drains clear. But you also need to look for specific signs of membrane distress.
What to Look for From the Ground or a Window
- Pooling water that stays for more than 48 hours after rain. A flat roof should drain, not pool. If you can see standing water from a window across the street, that water is testing every seam in the membrane. It will eventually win.
- Blistering or buckling in the roof surface. On mod bit roofs, blisters form when water vapor gets trapped under the membrane and expands in the sun. A blister is a weak point. When it cracks, the water gets in.
- Missing gravel on built-up roofs. The gravel on a BUR roof protects the tar from UV damage. When the gravel thins out, the tar degrades faster and the surface becomes brittle and cracked.
- Debris around the roof drains. Leaves, plastic bags, even baseballs from the kids next door. Anything that sits on top of a roof drain will reduce the flow and turn a normal rain into a roof pond. On a private rowhouse, clear these yourself if you can access the roof safely. On a co-op, report it to the super in writing and follow up.
Parapet Walls and Flashing
Queens rowhouses almost always have parapet walls, the short wall that extends above the roof line at the front of the house. The flashing where the roof meets the parapet is one of the most common leak points in the entire borough. Water works into the gap between the flashing and the masonry, freezes and thaws, and widens the gap. Each cycle makes the leak worse.
In our experience, a significant share of top-floor water damage calls in attached brick rowhouses trace back to parapet flashing failures. The homeowner never looks because the leak shows up on the ceiling below the parapet, which is sometimes on a different wall than the actual entry point. Water travels horizontally as much as it travels down. If you own a rowhouse, have the parapet flashing inspected as part of your roof maintenance every two to three years. It is not a DIY repair. You need a roofer with experience on attached masonry buildings, and the work should be done before the worst of the freeze-thaw season in January and February. When you see water stains on a ceiling near the front wall of a top-floor room, that parapet is the first place we look. If damage has already worked its way inside, our team handles the interior restoration while the roofer addresses the membrane.
Our technicians use professional-grade drying equipment from Dri-Eaz to dry the structural cavity properly, which matters in attached homes because the moisture you can’t see is the moisture that causes the next problem. When the restoration is done, we walk you through what was dried and what the roofer needs to address, so the fix holds.
Testing a Shared or Building-Level Sump Pump
If you own a private house, your sump pump is yours. Test it by pouring water in. But if you live in a co-op or condo, the sump pump in the basement belongs to the building. You can’t test it yourself. What you can do, and what most shareholders never do, is document its condition before storm season and create a paper trail. This one step pushes the building to maintain the pump and protects you if the board drops the ball.
The Documentation Method for Co-op and Condo Unit Owners
- Ask the super or management office for the last service date on the sump pump. Building pumps should be serviced annually by a plumber or pump contractor. If the answer is vague or defensive, ask in writing. Send an email so there’s a record.
- Ask the super to show you the pump cycling. You can’t pour water into a building pump without authorization, but you can ask the super to run it. A pump that starts, runs, and moves water out of the pit is functioning. A pump that hums without moving water has a problem.
- Look for signs of water around the pit or stains on the basement floor that indicate past flooding. In post-war co-ops, the basement often has old water marks. That tells you the pump has failed before. Ask what was done about it. If the answer is “nothing,” you know you need to push harder.
- Document the condition with photographs and email them to yourself. A dated photo of a corroded pump, a water-stained basement floor, or a pit that’s clearly been overflowing is your evidence if a storm hits and the basement floods. The board’s insurance may deny the claim if they can show the damage was the result of deferred maintenance. Your photos establish that you raised the issue.
- Know whether the building has a battery backup or water-powered backup pump. Most buildings don’t. If the power goes out during a storm, a standard sump pump stops working. If you live in a flood-prone area of Queens like the Rockaways or parts of Howard Beach, a backup pump is arguably the most important piece of building infrastructure the board can install. Ask the question. Put it in the minutes.
If the pump does fail and water gets into your unit, the restoration bill and the fight over who pays are both easier when you’ve documented everything. We work directly with unit owners, management companies, and adjusters on these claims, and the unit owner with the paper trail always comes through cleaner. For a deeper look at how we handle building-level water events, see our page on Water Damage Restoration in Queens.
The Seasonal Log Template (Your Insurance Paper Trail)
Here’s the part most maintenance guides skip: the documentation. Insurance claims for water damage often come down to one question: did the homeowner maintain the property? If you can show a seasonal log with dates, photos, and notes, the claim is dramatically easier. If you can’t, the adjuster may call it neglect and deny the claim. This is not theoretical. We’ve seen it happen in Queens homes in every neighborhood from Bayside to Ozone Park.
Keep a simple notebook or a digital note on your phone. Every time you do any of the maintenance on this list, log it. Date, what you did, what you saw, and a photo where useful. That’s it. Five minutes, twice a season.
October Log Entry (Fall Preparation)
- Date and time of maintenance
- Sump pump test: passed or failed (describe what you observed: pump cycled, water discharged outside, check valve held)
- Roof drain check: clear or clogged (photo of the drain from your window if you can’t access the roof)
- Supply line check: which lines were replaced or inspected, and their condition
- Window and door caulking: inspected by eye, any gaps noted (photo of gaps)
- Basement walls: any new efflorescence or staining compared to previous check (photo)
- Heating check: if you have radiators or forced air, note any leaks or unusual sounds
April Log Entry (Spring Thaw Check)
- Roof inspection: looking for pooling water, blisters, or missing gravel (photo from across the street if possible)
- Parapet flashing: inspected visually from ground or window, any visible cracks
- Front and back yard drainage: check that water is moving away from the house, not pooling against the foundation
- Sidewalk drain in front of the house: cleared of leaves and debris (this is your legal responsibility, not the DEP’s)
- Garden apartment window wells: drains clear, no standing water
- Sump pump re-test: passed or failed
- Spring gutter check if you have a pitched section: clear of winter debris
Keep both logs with your homeowner’s insurance paperwork. Store a copy digitally. If the worst happens and you do need to file a claim, this log is your evidence that the damage was not the result of neglect. It turns a he-said-she-said into a documented maintenance history. Insurance adjusters respect documentation because it makes their job easier. Give them the paper trail and the conversation shifts from “did the homeowner maintain this?” to “what’s the scope of the repair?”
That shift is worth more than any single maintenance task on this list. When we’re brought in on water damage jobs that involve insurance, the homeowners with logs get their claims approved faster and their restorations started sooner. The homeowners without logs are stuck arguing with the adjuster while the water damage gets worse. The log is the cheapest insurance you’ll ever buy. The team at Tidemark works directly with adjusters on every job, photo-documenting the damage and the drying progress, which gives the adjuster exactly what they need to move the claim forward.
Common Mistakes to Avoid
- Assuming the super already handled it. In co-op buildings, the roof drain that’s been clogged since October is still clogged in March unless a shareholder reported it. In our experience, supers in Queens co-ops often don’t know about the problem until someone puts it in writing. Do your part and document the email.
- Thinking that water on the basement floor is normal. It’s not. An occasional damp patch after a heavy rain means the foundation needs attention. A recurring puddle means water is getting in somewhere specific, and that somewhere is probably fixable. In a garden apartment, even a small recurring seep means the perimeter drain or the exterior waterproofing has failed. Ignoring it doesn’t make it stop.
- Using regular paint over water stains instead of finding the source. In Queens, you can always spot the house where a previous owner painted over water damage without fixing the leak. The stain comes back, but now it’s sealing moisture into the wall cavity, which accelerates mold growth. Find the source first.
- Replacing the sump pump without checking the check valve or discharge line. A sump pump that fails often isn’t the pump’s fault. A stuck check valve or a frozen discharge line makes a perfectly good pump run while moving no water. Check the whole system before replacing the pump.
- Neglecting the sidewalk drain in front of the house. NYC DEP maintains the catch basin, but the property owner is responsible for clearing debris from the top of the drain. A sidewalk drain blocked by leaves sends water pooling against your foundation during every storm. It takes two minutes to clear.
- Waiting until you see mold to address a known wet spot. By the time visible mold appears, the moisture has usually been present for weeks. The sooner the area is dried and the source is fixed, the smaller the restoration. The work of Mold Remediation in Queens is always larger when the moisture source stays active, and the cost goes up accordingly.
- Using extension cords for sump pumps or dehumidifiers as a permanent setup. The basement is the one room in the house where water and electricity are most likely to meet. Extension cords on a wet basement floor are a fire and shock hazard. Every pump and dehumidifier should be plugged directly into a GFCI outlet.
When to Call a Professional
Some water problems are a Saturday DIY fix. Clearing a roof drain, re-caulking a window, and logging your sump pump test are all well within reach. But the moment water has already made its way inside a wall, a ceiling, or a finished floor, the job shifts from maintenance to restoration. That’s when you call a professional, and it’s not a judgment call you want to make alone. Water damage that sits for more than 48 hours begins to support microbial growth, and what started as a cosmetic stain becomes a structural and air quality problem. If you see paint bubbling on a ceiling, a floor that feels soft, a musty smell that won’t go away, or water stains that are growing, call us. Tidemark Water Damage Queens offers free estimates in Queens. Call (607) 600-9946 and we’ll walk through what you’re seeing, what it likely means, and whether or not a professional inspection is warranted. No pressure, no obligation, just a knowledgeable read from someone who has seen thousands of Queens water damage jobs.
Frequently Asked Questions
Test your sump pump twice a year, in October before the winter freeze and in March after the thaw. In flood-prone Queens neighborhoods like the Rockaways, parts of Howard Beach, and low-lying sections of Flushing, test it monthly during the summer storm season too. If you live in a co-op or condo with a building-level pump, ask the management office for the last service date and document the condition in writing before storm season.
On a private rowhouse, the owner is responsible for the roof, including the roof drains, parapet flashing, and the membrane itself. On a co-op or condo building, the roof belongs to the corporation or association, but individual shareholders are still responsible for reporting visible problems like pooling water or clogged drains to management in writing. The report creates a record that protects you if the board fails to act.
A roof leak usually shows up as a stain that grows after rain, often with brownish rings that follow the path of water. A plumbing leak tends to be more constant and often appears on a ceiling below a bathroom or kitchen. A condensation problem typically shows up as uniform dampness rather than a defined stain. The pattern matters more than the size. If you’re not sure, call us at (607) 600-9946 and describe what you’re seeing.
You can file, but the claim may be denied if the adjuster determines the damage resulted from neglect rather than a sudden and accidental event. A documented maintenance log, with dates and photos, is your strongest defense against a denial. The log shifts the conversation from whether you maintained the property to what the restoration should include. It’s the single most valuable piece of paper in a water damage claim.
If you own a private home and the roof is not accessible safely, call a licensed roofer for an inspection, ideally before fall. If you’re in a co-op or condo, report the pooling water to management in writing with a photo and the date. Follow up if you don’t hear back. In either case, don’t attempt to walk on a flat roof without proper fall protection. We see too many injuries from homeowners climbing on roofs and ladders in wet conditions.
Yes. We provide Fire Damage Restoration in Queens in addition to water damage and mold remediation. Fire damage often involves significant water damage from the suppression efforts, so the two services go hand in hand. Every job includes a written price before work starts, shoe covers and drop cloths on every visit, and a photo of the clean-up before the crew leaves.
The Bottom Line
Queens water damage prevention isn’t about buying the right products or following a generic seasonal checklist. It’s about knowing your building type, knowing who owns which piece of the puzzle, and doing the small maintenance tasks that keep water on the outside where it belongs. Clear the roof drains in October. Log your sump pump tests. Replace your supply lines on schedule. Document everything in writing and with photos. If water still finds its way in despite your best efforts, act fast and call someone who knows this borough’s buildings. The 365-Day Done Right Promise from Tidemark means that if the restoration isn’t done right, we make it right. Call (607) 600-9946 for a free estimate, and we’ll walk through exactly what you’re facing.
Written by Rick Sumner, Owner at Tidemark Water Damage Queens, serving Queens since 2006.
See the difference
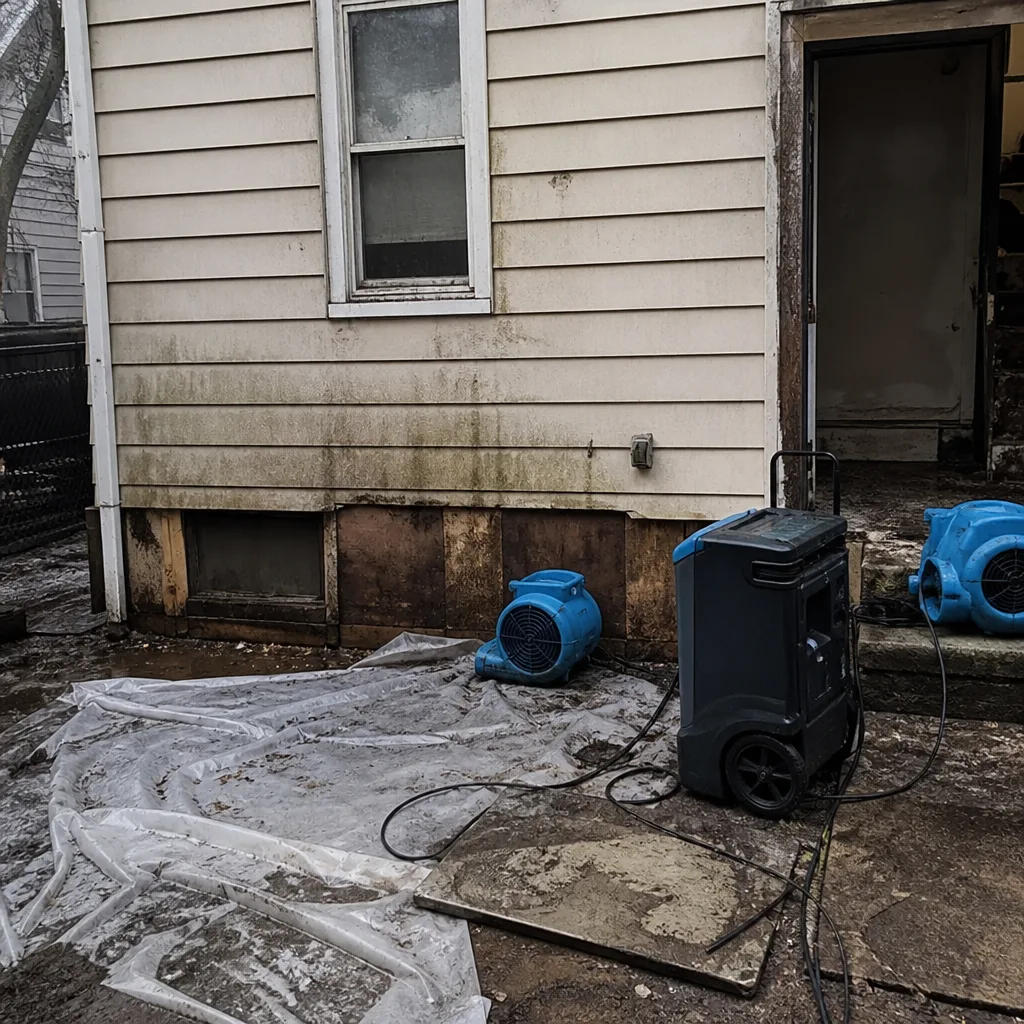 Before
 After
After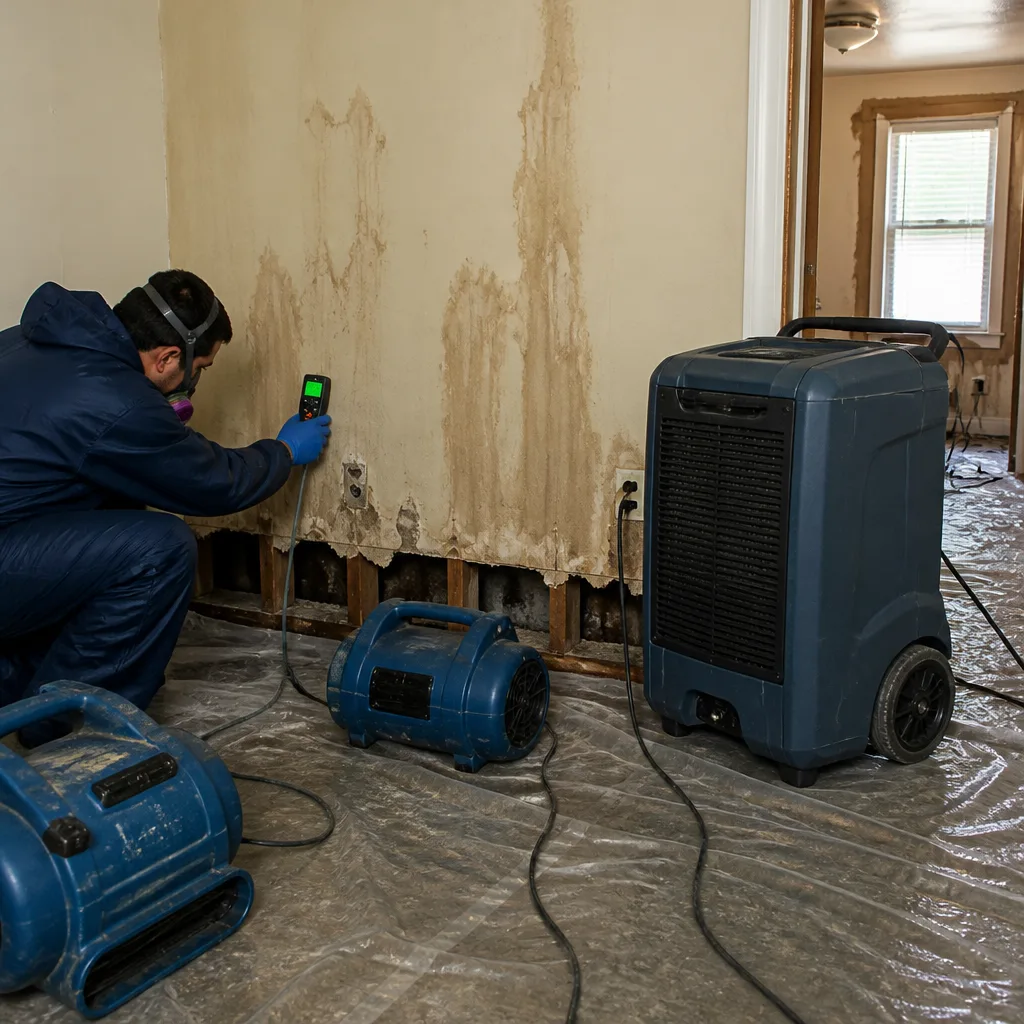 Before
 After
After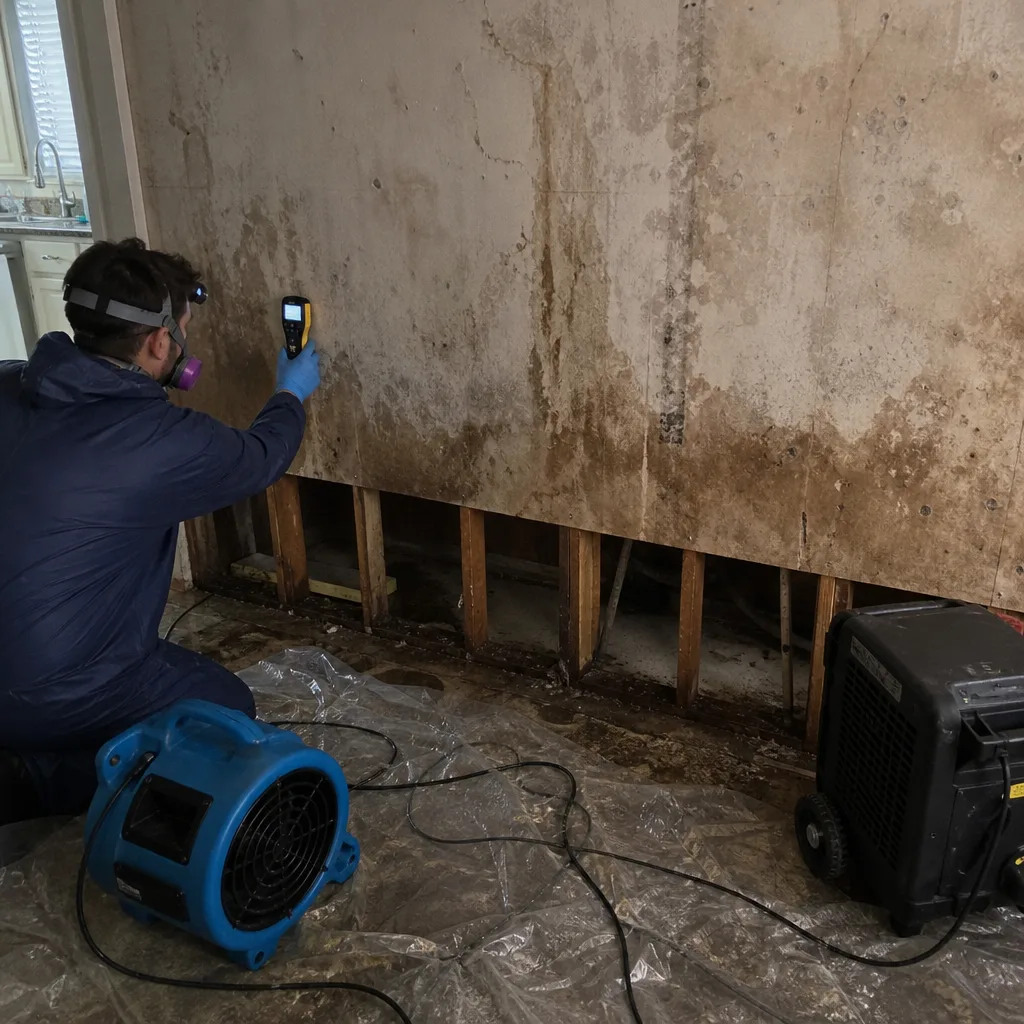 Before
 After
After