
Last updated October 16, 2026
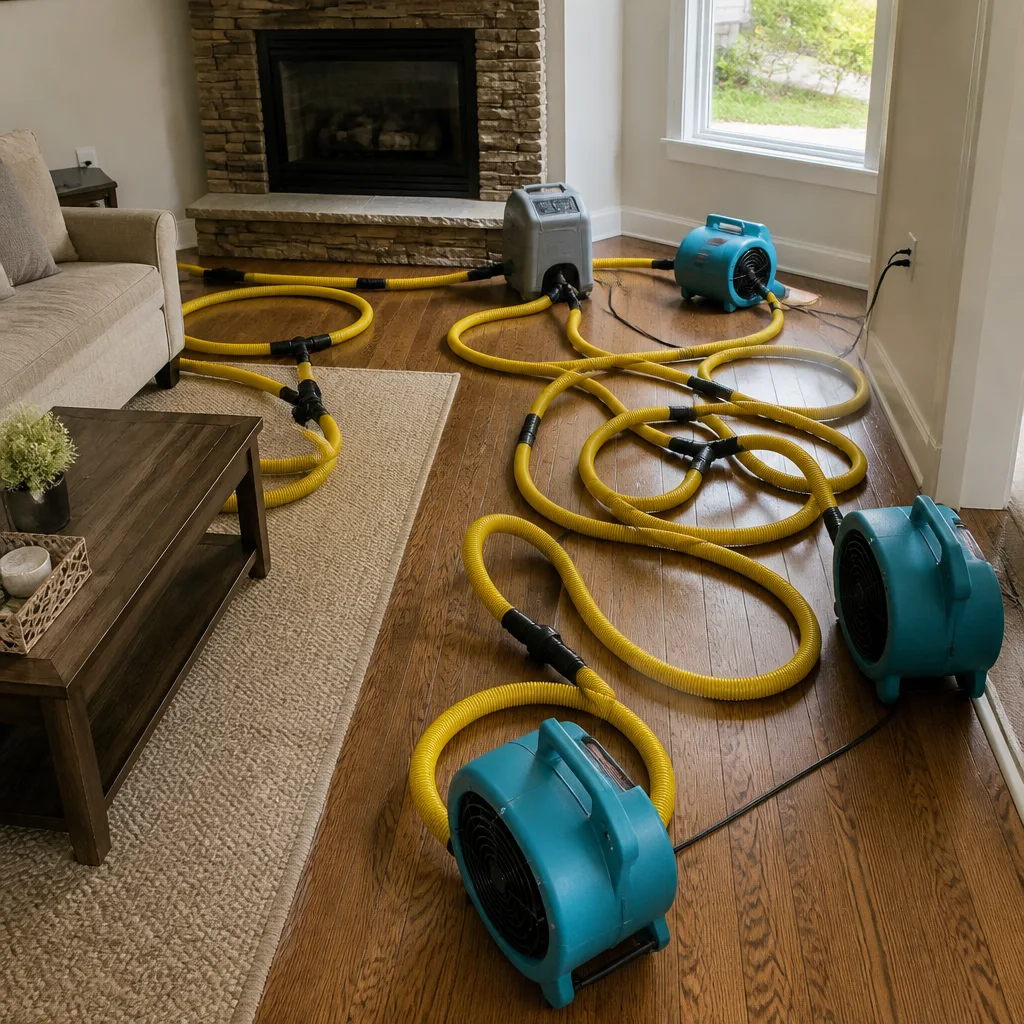 Water damage drying
 Fire & smoke cleanup
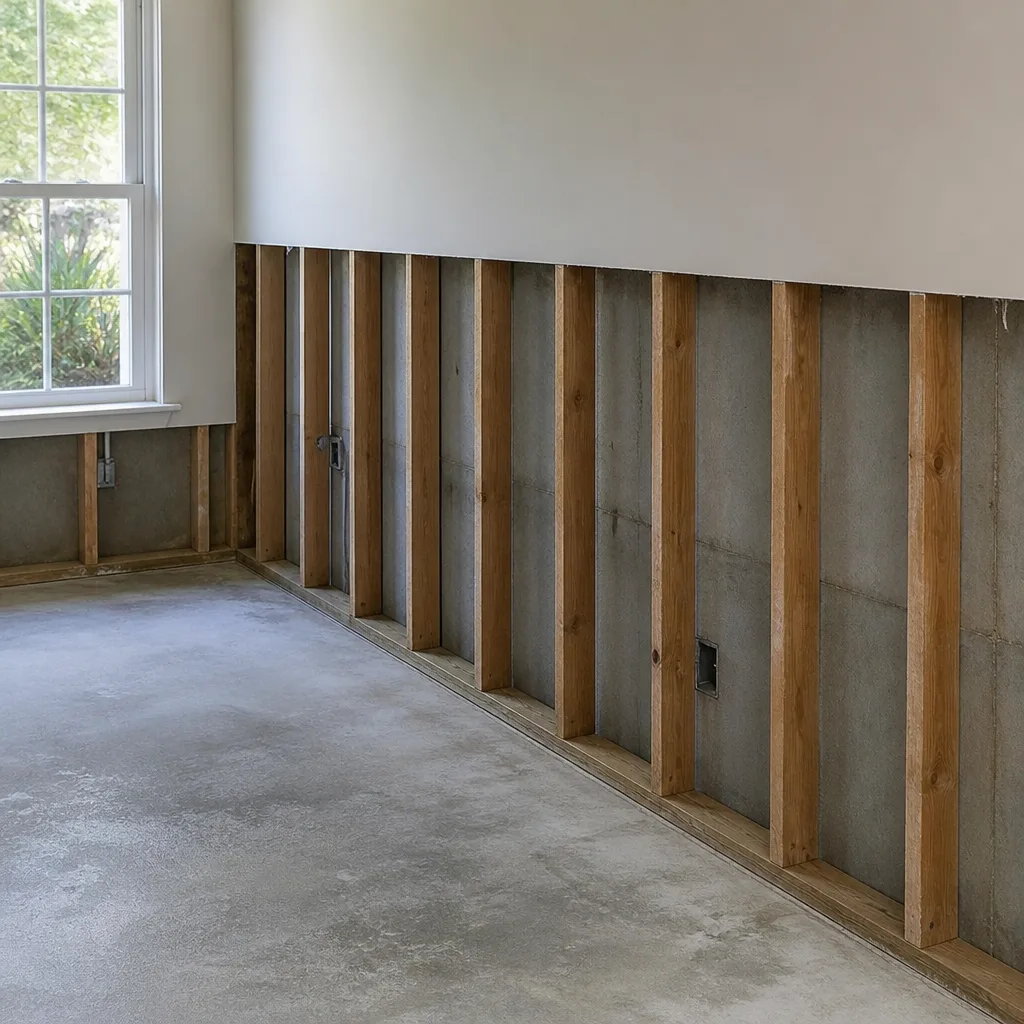 Mold remediation
 Storm response
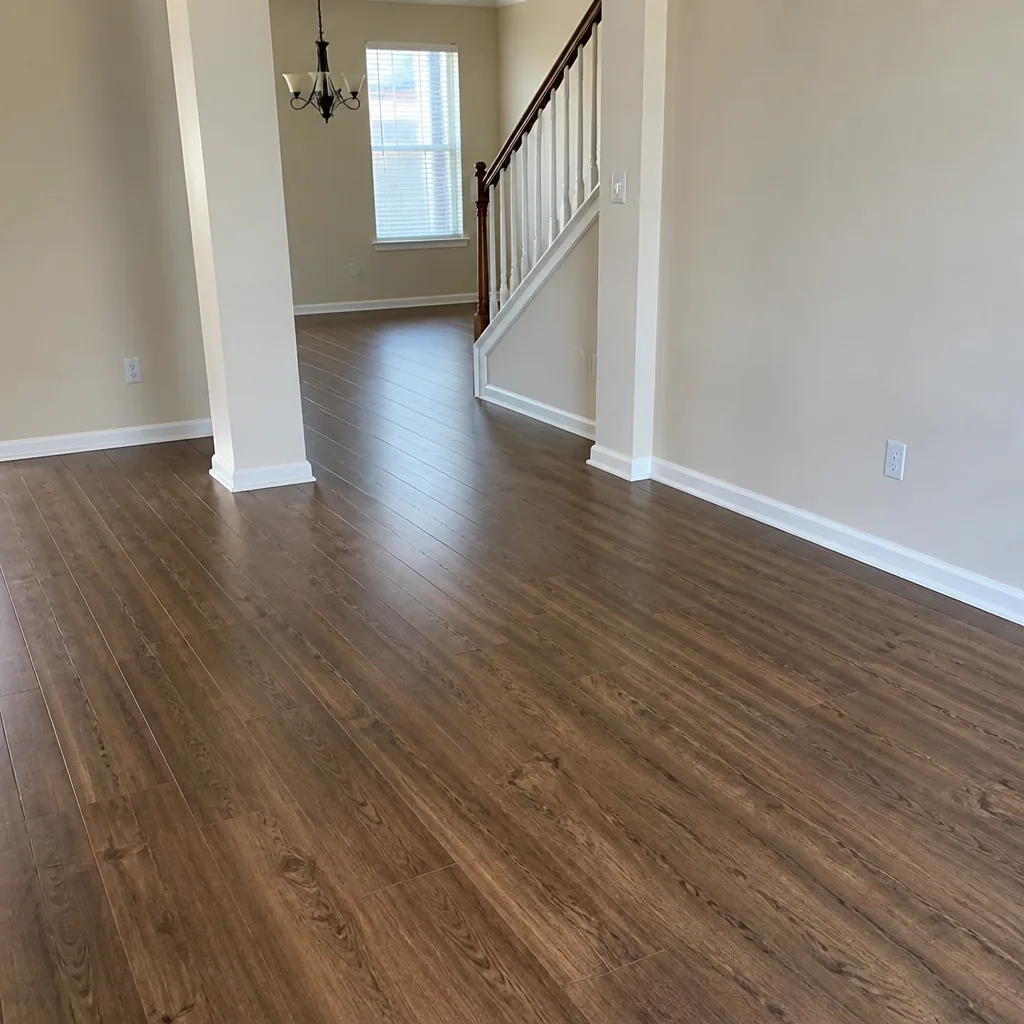 Sewage cleanup
 Reconstruction
Free visual inspection and a written scope of work before any mitigation begins - photos, moisture readings, and drying logs go in your claim file
The scope we write is the scope we bill. Anything new gets shown to you, in writing, before we touch it.
Get your free estimateSeasonal Damage Restoration Care for Queens: Year-Round Homeowner’s Guide
October damages more Queens homes than January. That surprises most homeowners, but the pattern shows up in our work every year: leaves clog flat roof drains just as early nor’easters arrive, and water finds its way inside before anyone has switched from summer to winter maintenance mode. This guide walks you through the four distinct damage seasons in Queens, what each one does to your house, and the specific steps you can take before water, mold, or fire damage becomes a restoration project. For a deeper dive, see The Complete Guide to Damage Restoration in Queens. By the end, you’ll know exactly what to check each month and when a professional call is the right move.
Restoration work we handle
Quick Answer
Queens experiences four separate damage seasons: spring freeze-thaw cycles that crack masonry, summer heat that overwhelms HVAC condensate systems, fall leaf-clogged flat roof drains, and winter pipe freezes in attached housing stock. The most effective homeowner response is a month-by-month inspection routine tied to each season’s moisture entry point, not a single winterizing checklist. Our Water Damage Restoration Maintenance Checklist for Queens Homeowners maps each check to the right month. Most seasonal damage is preventable with about twenty minutes of targeted checks per month, and knowing which specific problem belongs to which season keeps small issues from becoming restoration projects.
Table of Contents
- Spring: Freeze-Thaw Masonry Damage and the Stains That Show Up Late
- Summer: Queens’ Heat Island Effect and Condensate Overflow
- Fall: Flat Roof Drains, Parapet Walls, and October’s Hidden Flood Risk
- Winter: Pipe Freezes in Attached Housing and Converted Spaces
- Using NYC DEP Flood Alerts as a Seasonal Maintenance Trigger
- The 20-Minute Monthly Inspection Routine
- Insurance Documentation: What to Record Before and After Damage
- Common Mistakes to Avoid
- When to Call a Professional
- Frequently Asked Questions
- The Bottom Line
Spring: Freeze-Thaw Masonry Damage and the Stains That Show Up Late
Queens winters are not consistently cold. Temperatures swing above and below freezing dozens of times between December and March, and each swing does something specific to brick and mortar: water seeps into hairline cracks during warm spells, then freezes and expands by roughly nine percent when the temperature drops. That expansion pushes against the mortar joint from inside, widening the crack a fraction of a millimeter each cycle. Over one winter, a hairline crack becomes a visible gap. Over five winters, it becomes a water pathway.
The damage rarely shows up where the water enters. A cracked mortar joint on a south-facing wall lets rainwater behind the brick during March showers, but the water travels along the interior of the wall cavity until it finds a weak point: a window header, a floor joist pocket, or a ceiling seam. The stain appears in May or June, months after the entry point opened, and homeowners often assume a new leak just started. In our experience, the leak was there all along. What changed is where the water finally surfaced.
What to Check in March and April
- Walk the perimeter of your home and look at mortar joints at eye level. Focus on corners, window sills, and the top three courses of brick below the roofline.
- Press a flathead screwdriver against suspect mortar. If it crumbles or flakes, the joint is failing.
- Inspect interior walls near exterior corners for faint yellow-brown staining that does not match any recent event.
- Check basement or cellar walls for white chalky residue called efflorescence, which signals water moving through masonry.
- Look at window frames from inside. Gaps between the frame and brick that widen at the top indicate movement from freeze-thaw cycles.
Spring is also when Queens homeowners discover that gutters backed up all winter. Detached single-family homes in neighborhoods like Bayside, Whitestone, and Douglaston have more tree cover than the borough’s denser areas, and leaf litter from the previous fall sits in gutters until spring rain pushes it into downspouts. When water overflows a clogged gutter, it runs down the wall instead of away from the foundation. The fix is simple in March and expensive by August: clean gutters early, before spring rain saturates the soil around the foundation.
Mortar repair is not a DIY job for most homeowners. Repointing requires removing deteriorated mortar to a consistent depth and replacing it with a compatible mix. Done wrong, the new mortar traps moisture against the brick and accelerates damage. Done right, repointed joints shed water properly and protect the wall for decades. If you see crumbling mortar, call a masonry professional before the next freeze-thaw cycle begins.
Summer: Queens’ Heat Island Effect and Condensate Overflow
Queens runs hotter than surrounding areas, and not just because of the sun. The borough’s density of buildings, asphalt, and concrete absorbs heat during the day and releases it at night, a phenomenon called the urban heat island effect. On a 90-degree day, some Queens neighborhoods experience effective temperatures three to five degrees higher than nearby Long Island suburbs. That extra heat stresses air conditioning systems in ways most homeowners never see.
Every central air system produces condensate: moisture that forms on the cold evaporator coil and drips into a drain pan. During a Queens summer, the system runs harder and longer, producing more condensate than in milder climates. If the drain line clogs or the pan rusts through, the water overflows. In homes with air handlers in attics or above finished ceilings, the overflow soaks through drywall before anyone notices. The first sign is often a brown stain on a ceiling directly below the air handler closet, followed by sagging drywall and, eventually, mold growth on the wet paper backing.
July Condensate Inspection Steps
- Locate the air handler. In many Queens homes, it sits in a hallway closet, attic, or above a dropped ceiling.
- Check the drain pan for standing water. A quarter inch is normal. A half inch means the drain is slow.
- Pour one cup of water into the drain line. If it backs up instead of flowing, the line needs clearing.
- Look at the ceiling directly below the air handler for any discoloration or softness.
- Inspect the exterior condensate drain outlet, usually a small pipe near the foundation. Water should drip when the system runs.
Window AC units create a different problem. Queens apartment dwellers often run window units continuously from June through September, and the condensate drains directly onto exterior walls or windowsills. Over a season, this constant dripping saturates the mortar and brick below the window, and by October, the wall has absorbed enough water to cause visible staining inside. A simple drip extension or redirecting the drain path prevents this. Property owners with multiple window units should check each one at the start of the season.
Summer is also when mold takes off. Warmth plus moisture equals rapid growth, and a small condensate leak inside a wall cavity can produce visible mold within two weeks. The humidity in Queens basements and crawl spaces stays high all summer, even on dry days, and dehumidifiers that worked in May often fail by August. We recommend checking basement humidity at least once a month. Readings above 60 percent need attention, and readings above 70 percent need a dehumidifier that is actually running, not just plugged in. For homes with recurring mold issues, professional mold remediation in Queens starts with finding the moisture source, which is often a summer condensation problem that never got fixed.
Fall: Flat Roof Drains, Parapet Walls, and October’s Hidden Flood Risk
October is statistically the most damaging month for Queens homes, and flat roofs are the reason. Queens has more flat and low-slope roofs than almost any other borough, a legacy of mid-century row house and attached home construction. These roofs rely on drains and scuppers to move water off the surface. When leaves collect on the roof and block those drains, water pools. When early nor’easters drop two or three inches of rain in a day, that pooled water has nowhere to go except through the roof membrane.
The typical failure sequence starts in late September. Leaves from street trees and neighboring yards collect in parapet wall corners where drains are often placed. Rainwater carries more leaves to the drain, clogging it completely. The next storm fills the roof like a shallow pond, and standing water finds every seam, crack, and membrane penetration. In attached housing stock common across Astoria, Jackson Heights, and Woodside, one home’s blocked drain can push water onto a neighbor’s roof, creating damage that looks like it came from nowhere.
Flat Roof Drain Inspection Sequence for October
- Safely access the roof or call a professional to do it. Never walk on a wet roof without proper safety equipment.
- Clear the area around each drain and scupper. Remove leaves, twigs, and any debris with gloved hands, not a tool that could puncture the membrane.
- Check the drain basket or strainer. If it is missing or broken, replace it before leaves can enter the drain line.
- Inspect parapet wall seams and flashing. Look for open joints, cracked sealant, or lifted membrane edges.
- Pour a gallon of water into each drain to confirm it flows freely. Slow drainage means the internal line is partially blocked and needs professional clearing.
- Check the downspout exit at ground level. Water should flow away from the foundation, not pool against it.
Parapet walls deserve special attention in Queens. These low walls around flat roofs were built decades ago, and their mortar joints, cap stones, and flashing have withstood more freeze-thaw cycles than any other part of the home. A cracked parapet cap lets water into the wall cavity, where it migrates down through the structure and appears as stains on interior ceilings two or three floors below the entry point. In attached row houses, this water can travel through shared walls, making the source nearly impossible to identify without professional tracing. When we inspect a Queens row house with mystery ceiling stains, we start at the parapet and roof membrane, because experience says that is where the water entered.
Gutter cleaning belongs in October, not November. By mid-October, most Queens street trees have dropped enough leaves to clog gutters, and the first nor’easter often arrives before Veterans Day. A gutter cleared in October stays clear enough through the winter to handle snow melt. Waiting until after the first storm means cleaning gutters in the cold and wet, and the water may already be inside. If you have professional water damage restoration in Queens on your mind, prevention this month is significantly cheaper than extraction in November.
Winter: Pipe Freezes in Attached Housing and Converted Spaces
Queens winters are cold enough to freeze pipes, and the borough’s housing stock has predictable weak points. The pipes that freeze first are rarely in basements, which stay warmer than outside air. They are in exterior walls of converted attic spaces, uninsulated garage ceilings, and cantilevered bays, places where the pipe runs through space that is essentially outside temperature. Attached homes share another vulnerability: a vacant neighboring unit with the heat turned down drops the shared wall temperature enough to freeze pipes on both sides.
The cost of a frozen pipe goes beyond the pipe itself. When water freezes inside a copper or PEX line, it expands and splits the pipe along its length. The split stays sealed while the ice remains frozen. When the temperature rises, water flows through the split at full pressure. In an attic, the water runs down through insulation, drywall, and electrical fixtures before anyone hears it. By the time the drip becomes visible on a lower floor, the damage path runs through multiple rooms.
Pipe Locations That Freeze First in Queens Homes
- Converted attic bathroom supply lines: These pipes run through unheated knee walls and freeze when outside temperatures drop below 20 degrees for more than six hours.
- Uninsulated garage ceiling pipes: In attached garages beneath living space, pipes running under an uninsulated garage ceiling freeze before any other plumbing in the house.
- Exterior wall kitchen sinks: Homes with sinks on an exterior wall, common in Queens row houses, lose cabinet heat to the outside and freeze during extended cold snaps.
- Hose bib supply lines: Outdoor spigots that were not drained before winter freeze back into the wall, splitting the supply line inside the house.
- Unheated sun porch plumbing: Enclosed porches that were never converted to heated space have pipes that freeze every winter unless specifically insulated.
Prevention is straightforward but timing matters. By December, all exterior hose bibs should be shut off from inside and drained. Attic pipes should be wrapped with pipe insulation and, where possible, kept warm by leaving the attic hatch slightly open to allow house heat to rise. During cold snaps below 20 degrees, let faucets on vulnerable lines drip slowly, both hot and cold. And if you own a two-family home with a vacant unit, keep that unit’s thermostat at 55 degrees minimum, not only for freeze prevention but because a frozen pipe in a vacant unit damages the occupied unit below.
If a pipe does freeze but has not split, thaw it slowly with a hair dryer or space heater placed at a safe distance from the pipe. Never use an open flame. If the pipe has split and water is flowing, shut off the main water valve immediately and call a professional. The difference between a contained repair and a full restoration project hinges on how quickly the water stops flowing. For major pipe bursts, Tidemark Water Damage Queens home services respond to Queens addresses any hour of the day, because a burst pipe at 2 a.m. does not wait for business hours.
Using NYC DEP Flood Alerts as a Seasonal Maintenance Trigger
New York City’s Department of Environmental Protection operates a free flood notification system called Notify NYC, which sends text and email alerts when heavy rain, coastal flooding, or sewer backups are likely. Most Queens homeowners treat these alerts as storm warnings: something to read and then ignore unless the storm is severe. We recommend using them differently. Each alert functions as a maintenance trigger for the specific season.
In fall, a flood alert means checking flat roof drains before the storm arrives, or at least planning to inspect them immediately after. In summer, a heavy rain alert means watching basement drains and confirming the sump pump works before water arrives. In winter, a freeze alert from Notify NYC signals the start of the pipe drip routine in vulnerable locations. The alerts are free, they are specific to Queens neighborhoods, and they arrive with enough lead time to act if you have a plan for what each alert means for your house.
Setting Up Your Alert-Based Response Plan
- Sign up for Notify NYC alerts at nyc.gov/notifynyc and select your borough and neighborhood preferences.
- Create a simple one-page response list for each season: what to check, what to move, and what to watch.
- When a flood alert arrives, walk through the checklist before the storm hits, not after.
- After the storm passes, photograph any new water intrusion for documentation, even if it seems minor.
- If water entered the home, call a professional within 24 hours. Mold begins forming on wet drywall within 48 hours.
Flood alerts are especially valuable for Queens homes near Jamaica Bay, Flushing Bay, the East River, and low-lying areas of the Rockaways and Broad Channel. These neighborhoods experience both rain-driven flooding and storm surge, and the two require different preparations. Rain flooding responds to gutter and drain maintenance. Storm surge responds to elevation, flood barriers, and knowing when to move belongings to higher floors. The DEP alert tells you which type of flood is coming, and that changes what you do next.
The 20-Minute Monthly Inspection Routine
A monthly walkthrough catches seasonal damage before it becomes expensive. The routine takes about twenty minutes and follows the same path through the house every month. Consistency matters more than perfection: looking at the same spots month after month teaches you what normal looks like, which makes abnormal instantly visible. Here is the routine we use when training homeowners to spot issues early.
The Once-a-Month Walkthrough
- Roof and gutters (5 minutes, visual only): From the ground, look for visible debris on flat roofs, sagging gutters, and missing downspout connections. Binoculars help for two-story homes.
- Exterior walls and foundation (4 minutes): Walk the perimeter. Look for new cracks, mortar deterioration, efflorescence, or staining that was not there last month.
- Basement and cellar (4 minutes): Check the floor for damp spots, the walls for water lines, and the ceiling for pipe condensation. Note any new cracks in the floor slab.
- Plumbing fixtures (3 minutes): Open cabinet doors under sinks. Look for water stains on cabinet bottoms and feel supply valves for dampness. Check the water heater area for rust or puddling.
- Attic and ceilings (4 minutes): Scan ceilings and upper wall corners for new discoloration. In the attic, check for daylight through roof boards, wet insulation, or signs of animal entry.
Keep a simple log. A note on your phone with the date and anything found takes ten seconds and builds a record that insurance adjusters and restoration professionals can use later. If you ever need to file a claim, that log shows the damage was sudden or progressive, which matters for coverage decisions. Photo documentation matters the same way. A photo taken in March of a clean ceiling is the baseline that proves a June stain is new water entry, not an old cosmetic issue.
Insurance Documentation: What to Record Before and After Damage
Insurance companies process claims faster when homeowners have documentation. Before damage happens, photograph every room, the basement, the attic, and the exterior from multiple angles. Store those photos in the cloud, not just on a phone. After damage occurs, photograph everything before moving anything, and keep a written timeline of events: when water was discovered, what the weather was doing, what you did, and when you called for help. These details anchor the claim in facts and reduce disputes.
When you call a restoration company, insist on written documentation throughout the process. We photograph the damage before we start, document the drying process with moisture readings from our Injectidry and XPOWER equipment, and photograph the finished work before the crew leaves. That photo record goes to your adjuster and stays with your file. For homeowners navigating the aftermath of a fire or smoke event, professional fire damage restoration in Queens should include the same level of photographic rigor, because the damage path of smoke and soot is rarely visible in a single photo.
One note that surprises many Queens homeowners: flood insurance is separate from standard homeowners insurance, and most standard policies do not cover damage from groundwater, sewer backups, or storm surge. Queen residents in FEMA flood zones are often required to carry flood insurance, but many homeowners outside those zones assume they are covered when they are not. If you are unsure whether your policy covers the specific type of water that damaged your home, ask your agent directly: “Does this policy cover water entering through the foundation during a heavy rain?” Write down the answer and the date, because that conversation matters later.
Common Mistakes to Avoid
- Waiting until January to winterize. By January, the freeze-thaw cycles that crack Queens masonry have already happened, and October’s leaf-blocked drains have already flooded roofs. Winter preparation belongs in September and October.
- Ignoring small stains because they seem old. A stain that was not there last month is a new leak, regardless of what the color looks like. Water marks darken over time, and what seems old may simply be a slow leak that has been running for months.
- Assuming attached row house leaks come only from your own roof. Water travels laterally through shared walls. A neighbor’s blocked roof drain regularly floods the home next door, and the fix requires looking beyond your own property line.
- Running a dehumidifier without checking the humidity level. A dehumidifier that is running but not lowering relative humidity below 60 percent is not doing its job, usually because the coils are dirty or the unit is undersized for the space.
- Using caulk to fix cracked mortar joints. Caulk seals the surface but traps moisture behind the brick, where it causes more damage. Repointing with compatible mortar is the proper fix.
- Draining a wet basement with a shop vac and calling it done. Water that saturated drywall, baseboards, and flooring needs professional drying. Hidden moisture grows mold, and mold remediation costs far more than proper drying.
When to Call a Professional
Some damage is visually obvious and structurally simple: a small pipe drip behind a sink, a single window leak, a stain that appears once and never grows. These are reasonable DIY assessments. But certain situations demand professional attention: water that spread across multiple rooms, any water in a finished basement with drywall and insulation, water that has been standing for more than 24 hours, visible mold growth larger than a dinner plate, any fire or smoke damage, and any leak where the source remains unknown after your inspection. The rule we suggest to homeowners is simple: if you cannot see where the water entered, or if the water traveled through building materials, call before the damage compounds. Tidemark Water Damage Queens offers free estimates in Queens, and our technicians have the IICRC credentials equipment from Injectidry and B-Air to dry structures past the visible tide mark. Call (607) 600-9946 and we will talk through what we see, not what we want to sell you.
Frequently Asked Questions
Water damage restoration in Queens typically ranges from $2,500 to $7,000 for a contained single-room event, while multi-room flooding with structural drying often runs $8,000 to $25,000 or more depending on the square footage and materials affected. For a full breakdown of what drives these numbers, see our Damage Restoration Cost Breakdown: The Queens Homeowner’s Reference for 2026. The final number depends on how far the water traveled, what materials it saturated, and how quickly drying begins. The written price is the first thing you receive from Tidemark, before any work starts. Call (607) 600-9946 for a specific quote based on your home and the event.
Blocked flat roof drains during fall leaf drop cause more Queens water damage than any other single source, followed closely by frozen pipes in January and February. The two problems compound: a blocked drain allows water to pool and saturate roofing, and once cold weather arrives, that saturated roof freezes and expands, creating even larger openings for the next rain.
Tidemark answers calls 24 hours a day with a live person, not a voicemail, and we dispatch technicians to Queens addresses around the clock for water emergencies. Response time depends on your location in Queens and current call volume, but water damage does not wait for business hours and neither do we.
Most standard homeowners policies cover sudden internal events like burst pipes or appliance overflows, but they exclude groundwater seepage, sewer backups, and flood damage unless you have separate flood insurance. The distinction depends on where the water came from and how it entered. Photograph everything immediately and call your agent with specific questions about coverage before signing any repair contract.
Fans dry surfaces, but water that soaked into drywall, subfloor, and insulation needs structural drying with professional equipment that measures moisture content, not just surface dampness. Our technicians use Injectidry systems to pull water from cavities fans cannot reach, and XPOWER and B-Air air movers to dry materials thoroughly. If water traveled beyond the visible area, professional drying prevents the mold that fans leave behind.
Move valuables and electronics to upper floors, stay away from basement areas where water may be rising, and do not walk or drive through flooded streets. After the storm, wait for the DEP to confirm drainage before entering a flooded basement, and call a professional before touching standing water that may contain sewage. Document everything with photos before and after cleanup.
The Bottom Line
Queens damage follows a seasonal calendar, and each season has a specific moisture entry point: spring freeze-thaw cracks, summer condensate overflow, fall flat roof drain blockages, and winter pipe freezes in the borough’s attached housing. Twenty minutes of monthly inspection, timed to the right season, prevents most of what we see as restoration projects. When prevention fails, speed and documentation matter more than anything else: stop the water, photograph the damage, and call a professional who writes the price down before starting. For more guides & resources on protecting your Queens home, visit our blog. That combination of seasonal awareness and fast, documented response protects not just the structure but the family living inside it.
Written by Rick Sumner, Owner at Tidemark Water Damage Queens, serving Queens since 2006.
See the difference
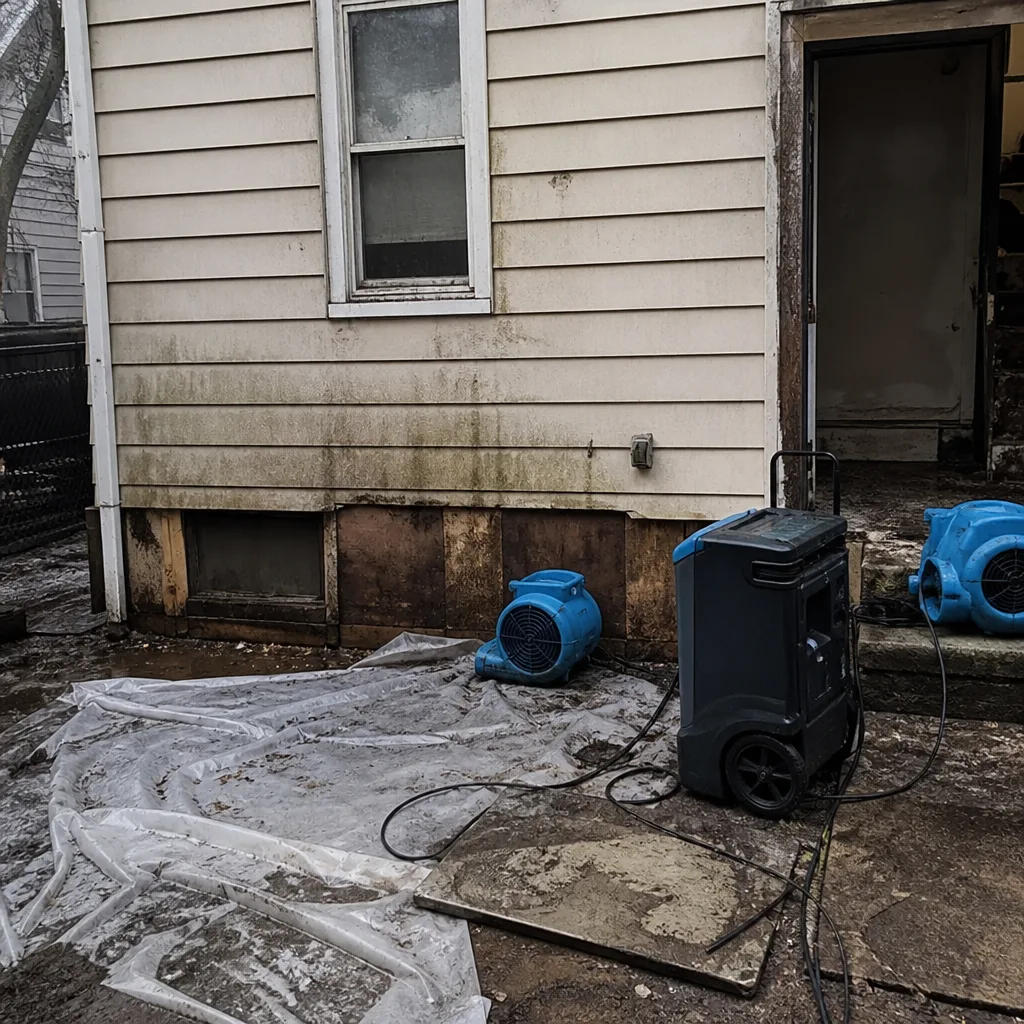 Before
 After
After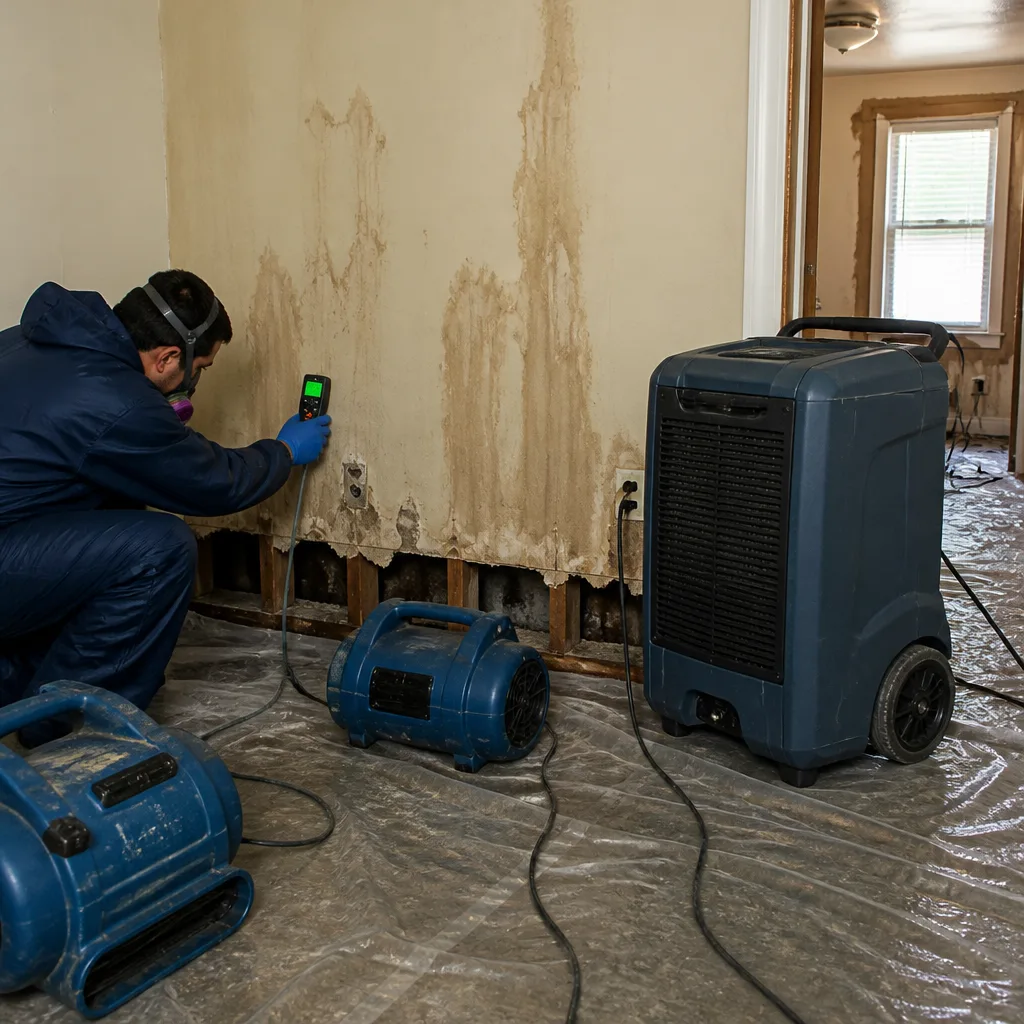 Before
 After
After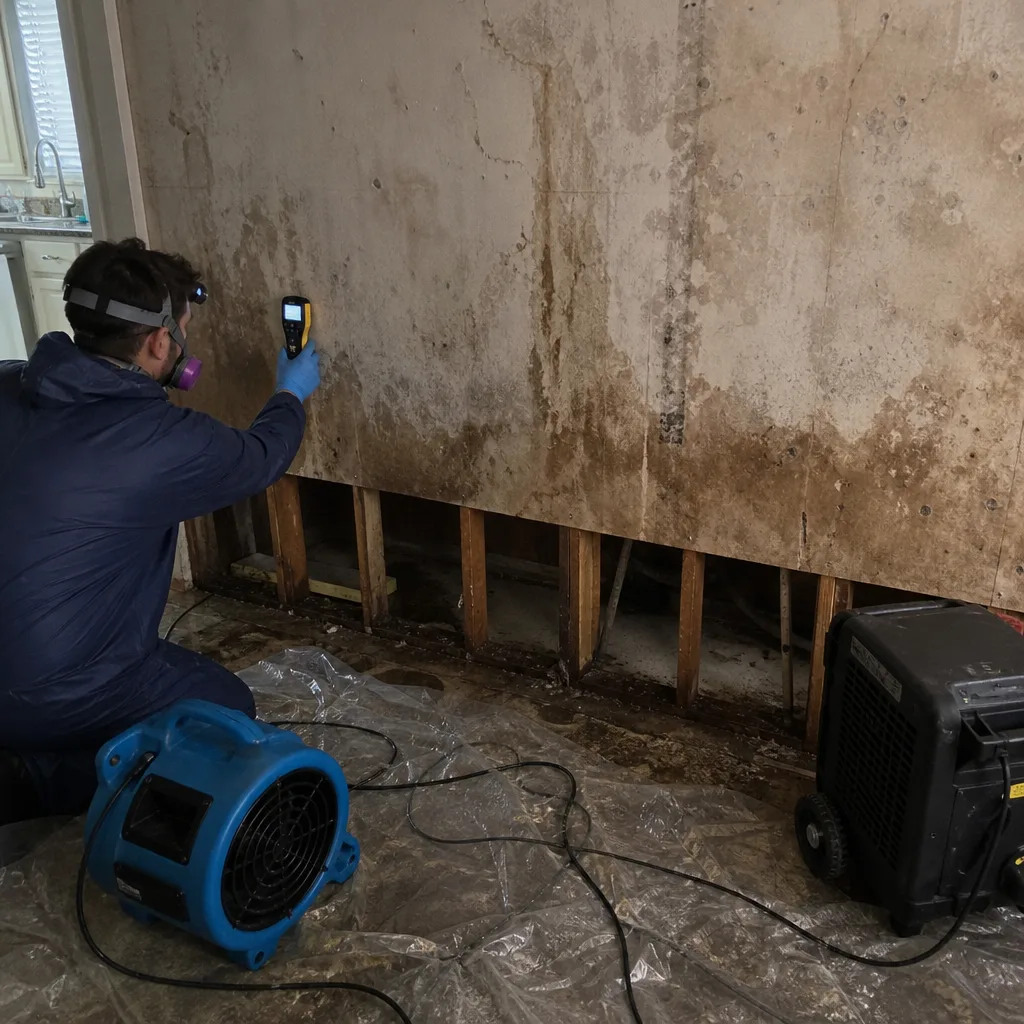 Before
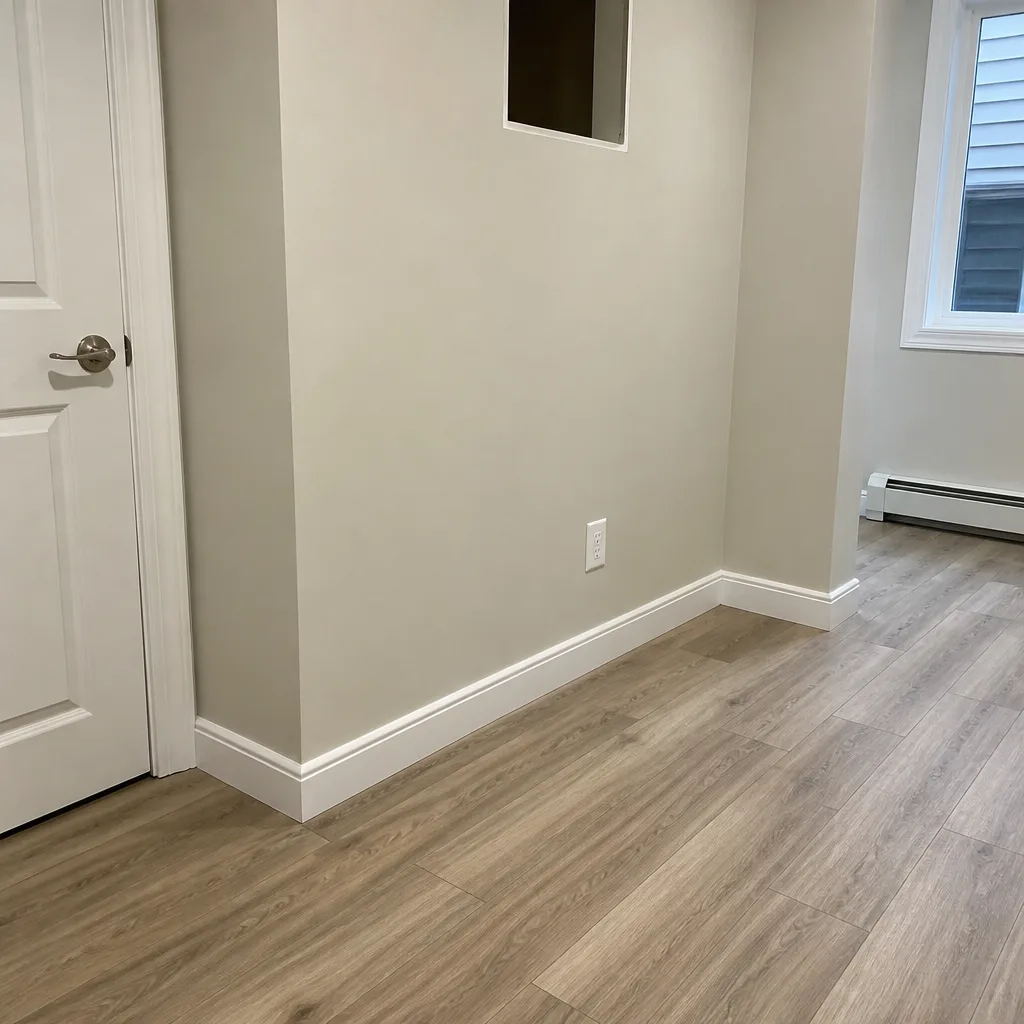 After
After