
Last updated October 16, 2026
 Water damage drying
 Fire & smoke cleanup
 Mold remediation
 Storm response
 Sewage cleanup
 Reconstruction
Free visual inspection and a written scope of work before any mitigation begins - photos, moisture readings, and drying logs go in your claim file
The scope we write is the scope we bill. Anything new gets shown to you, in writing, before we touch it.
Get your free estimateDIY vs Professional Damage Restoration: The Queens Homeowner’s Decision Guide
Here’s a counterintuitive fact most restoration guides won’t tell you: in a detached single-family home on Long Island, a homeowner with a wet-vac and a few box fans can often handle a clean-water spill without professional help. But in a Queens row house, that same approach can push moisture into a shared masonry wall and create a neighbor liability claim the homeowner never saw coming. The skill required to pull water out of a floor is modest. The judgment required to know where that water is going as it dries is not. This guide draws the line precisely for Queens homeowners, without shaming anyone for wanting to save money and without upselling anyone who genuinely doesn’t need us yet. For more on when professional help becomes essential, see our How to Hire a Damage Restoration Contractor in Queens: A Step-by-Step Guide.
Restoration work we handle
Quick Answer
DIY restoration is safe for a Queens homeowner only when three conditions are all true: the water is Category 1 (clean, from a supply line or rain), the affected area is under roughly 10 square feet, and the home is detached. If any one of those conditions fails, or if you plan to sell your home within five years, hire a professional. The reason is simple: drying mistakes in attached housing create moisture in shared walls that you can’t see, can’t fix with fans, and may have to disclose as a defect when you sell.
Table of Contents
- The Three-Question DIY Test (Under 10 Minutes)
- The Shared-Wall Problem: Why Queens Row Houses Change Everything
- NYC’s Mold Disclosure Law and What It Means for DIY Drying
- The Equipment Gap: What You Rent vs. What We Bring
- The First Two Hours: What to Do Yourself Before Anyone Arrives
- The Shared-Wall Protocol: Notifying Your Neighbor Within 24 Hours
- What DIY Actually Costs in Queens (and What Professional Restoration Costs)
- Common Mistakes to Avoid
- When to Call a Professional
- Frequently Asked Questions
- The Bottom Line
The Three-Question DIY Test (Under 10 Minutes)
Before you touch a single towel, answer three questions. Each one takes about three minutes to evaluate, and together they tell you whether you’re dealing with a weekend project or a structural drying job. We’ve walked hundreds of Queens homeowners through this exact framework on the phone, because it works whether you hire us or not.
Question 1: What category is the water?
Category 1 is clean water. It came from a supply line, a faucet left running, a water heater overflow, or rain that entered through a window. No sewage, no dishwasher backflow, no toilet overflow. Category 1 water on a tile or hardwood floor is a candidate for DIY drying, provided the other two questions check out.
Category 2 is gray water. It came from a washing machine discharge, a dishwasher leak, or a sump pump failure. It contains soap, food particles, or other contaminants that bacteria feed on. Gray water that sits for more than 48 hours becomes Category 3.
Category 3 is black water. Sewage, toilet backflow, standing floodwater from outside, or anything that has been sitting long enough to grow pathogens. There is no DIY version of Category 3 cleanup in a Queens home. This requires containment, antimicrobial treatment, and disposal protocols that protect the people living in the house, including kids and pets who spend time on the floors.
A quick way to think about it: if you’d drink it, it’s Category 1. If you wouldn’t wash your hands in it, it’s not a DIY job.
Question 2: How many square feet are affected?
Pull out a tape measure. Length times width of the wet area. If the number is under 10 square feet and the water is Category 1 and the surface is tile, vinyl, or sealed hardwood, you have a legitimate DIY scenario. You’ll still need to dry thoroughly, but the scope is manageable.
If the wet area is 10 to 50 square feet, the math changes. You need real dehumidification, not just air movement, and you need to check whether water traveled under baseboards, behind cabinets, or into wall cavities. Most homeowners underestimate the affected area by a factor of two or three because water wicks sideways under flooring and into drywall. In our experience in Queens apartments and attached homes, a visible puddle of 5 square feet often means 20 square feet of hidden moisture behind and beneath the visible area.
If the wet area exceeds 50 square feet, or if the water touched drywall at all, this is a professional job. Drywall acts like a sponge and holds water against wooden studs for weeks. You cannot see the damage with the naked eye, and by the time you can smell it, the repair cost has multiplied.
Question 3: What is your housing attachment type?
This is the question most restoration guides miss entirely, and it’s the most important one for Queens specifically. Queens is a borough of attached housing: row houses, semi-attached homes, co-ops, condos, and apartment buildings share more wall surface with neighbors than any other housing type in the five boroughs except parts of Brooklyn and the Bronx.
If you live in a detached single-family home in neighborhoods like Bayside, Whitestone, or parts of Jamaica Estates, you have a buffer. Moisture you push into your walls stays in your walls. It may still be a problem, but it’s your problem alone.
If you live in an attached row house in neighborhoods like Ridgewood, Astoria, Woodside, Jackson Heights, or Sunnyside, you share walls. A party wall is typically double-wythe brick or block with a cavity or insulation between units. When you set up fans and a consumer dehumidifier in a wet room, you create negative air pressure that pulls moisture toward the drying equipment. That moisture can travel into the shared wall assembly and condense inside your neighbor’s wall cavity, where you will never see it and your neighbor won’t either until the mold develops or an inspector finds it during a sale.
The DIY test, then, is: Category 1 water + under 10 square feet + detached home = DIY is reasonable with thorough drying. Change any one variable and you’re in professional territory.
The Shared-Wall Problem: Why Queens Row Houses Change Everything
A party wall is not just a wall that your house happens to share with your neighbor’s house. It’s a legal structure with shared ownership rights and shared liability, and in Queens row houses built between 1890 and 1940, it’s typically solid masonry that transmits moisture slowly but continuously. The problem with DIY drying in attached housing is not that you might do a bad job. It’s that you might do a good job on your side while creating a problem on the other side that no one can see.
Here’s the mechanism. When you run fans and a dehumidifier in a wet room, you lower the vapor pressure in that room. Moisture in the air and in porous materials moves toward the drier air. In a detached home, that moisture moves into your room, gets pulled into the dehumidifier, and is removed. The system works because the exterior walls of your house face either outside air or your own interior rooms.
In a row house, the party wall faces your neighbor’s interior space, not the outside. The moisture in that wall migrates toward the low-pressure side, which is your drying room. But masonry is dense and slow to release moisture. The water inside the wall may take weeks to fully move toward your side, and during that time, your neighbor’s side of the wall stays above the mold-growth threshold for humidity. You never see it because it’s inside the wall. Your neighbor never sees it because it hasn’t penetrated their finished surface yet. But the conditions for mold growth are met, and in a borough where homes are sold with detailed inspection contingencies, that hidden condition becomes a legal problem later.
We’ve heard from Queens homeowners who sold a row house years after a DIY water event, only to face undisclosed-defect claims when the buyer’s inspector found elevated moisture readings in the shared wall. The seller genuinely didn’t know they’d caused it. The buyer genuinely found a material defect. The seller’s homeowner’s insurance may or may not cover the claim, depending on the policy language around gradual damage and prior water events. None of it is pleasant, and most of it is avoidable.
The antidote is a party-wall drying protocol that addresses both sides of the wall simultaneously. That means inspecting the wall cavity on both sides, placing drying equipment strategically to pull moisture out of the masonry in a controlled direction, and documenting moisture readings over time to confirm the wall actually dried. That’s a job for equipment and training that most homeowners don’t have, and it’s one of the main reasons we recommend professional restoration for attached homes even when the visible damage is small.
If you’re set on handling a small clean-water event in a row house yourself, you still need to follow the shared-wall protocol in the section below. At minimum, you need a moisture meter and you need to tell your neighbor what happened. We’ll cover both.
NYC’s Mold Disclosure Law and What It Means for DIY Drying
New York Real Property Law §460, known as the mold disclosure law, requires sellers of residential property to disclose known mold conditions to buyers. It applies throughout New York State, but it has particular force in Queens because of the density of attached housing and the age of the housing stock. The law requires disclosure of mold that you know about. It does not require you to test for mold. But here’s the catch: a DIY water event that leaves hidden moisture in a shared wall creates the conditions for mold you don’t know about, which becomes mold the buyer’s inspector may find, which becomes a disclosure dispute that no seller wants to be in.
The practical advice from our team, informed by conversations with Queens real estate attorneys and home inspectors over the years, is this: if you plan to sell within five years, do not DIY any water event in attached housing. Pay for professional drying with documented moisture readings. Keep the documentation. The written record that the wall was dried to an acceptable moisture content below the mold-growth threshold is your strongest defense against a future undisclosed-defect claim. Without that record, you’re in a he-said-she-said with a buyer’s attorney, and the buyer’s inspector’s moisture meter reading will carry more weight than your memory of a weekend with a rented fan.
The disclosure equation tilts even further for co-op and condo owners. Your proprietary lease or bylaws almost certainly require you to report water events to the building management within a specified time window, often 24 to 48 hours. Failure to report can violate your lease and create liability for damage to the building’s common elements and to the unit below yours. In a co-op in Forest Hills or Kew Gardens, a dishwasher leak you “took care of” yourself can become a building-wide claim if water traveled through the floor assembly. The building’s insurance company will subrogate against you, and your personal co-op insurance may deny coverage because you failed to mitigate promptly and failed to report the loss.
None of this means every water event requires a professional. It means the legal exposure from DIY drying is lowest in a detached home you plan to own for a long time, and highest in an attached home you plan to sell or that is governed by a co-op or condo board.
The Equipment Gap: What You Rent vs. What We Bring
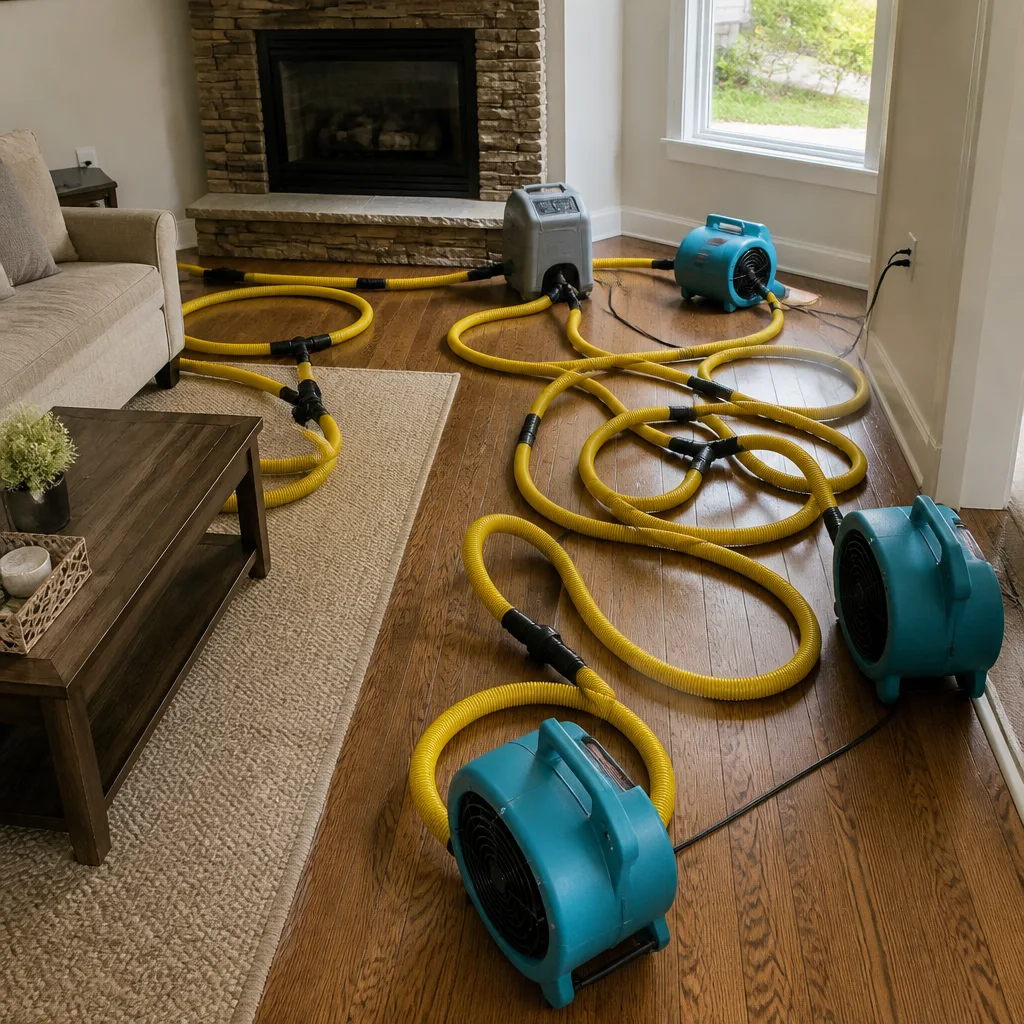
The equipment difference between consumer-grade drying and professional restoration is measurable, and the measurement matters. A typical consumer dehumidifier from a hardware store removes about 20 to 30 pints of water per day at standard room conditions. A rental dehumidifier from a tool rental counter in Queens, which runs about $60 to $80 per day, removes perhaps 40 to 50 pints per day. A commercial low-grain refrigerant (LGR) dehumidifier from Dri-Eaz or Phoenix removes 130 to 150 pints per day at the same conditions, and critically, it keeps removing water at lower humidity levels than consumer units can reach.
Here’s why that matters in grains-per-pound terms. Air at 70 degrees Fahrenheit and 60% relative humidity contains about 66 grains of moisture per pound of dry air. To dry building materials, you need to pull the air in the room down to a specific vapor pressure that pulls moisture out of the materials, not just out of the air. Consumer dehumidifiers can usually get a room to about 45% relative humidity. A commercial LGR unit can drive a sealed drying chamber down to 25% or lower. That difference is what actually dries the wood framing inside your walls, not just the surface of your floor.
Air movers matter too. A box fan moves air, but it doesn’t create the turbulent airflow across a wet surface that accelerates evaporation. Professional air movers from XPOWER move 2,000 to 3,000 cubic feet per minute across the floor surface, directing moisture into the air column where the dehumidifier can capture it. Without that directed airflow, evaporation happens slowly and incompletely. The result is a floor that feels dry to the touch but retains enough moisture in the subfloor to support mold growth.
There’s also the matter of heat drying systems and floor-mat systems, which are used for drying hardwood floors and subfloors without demolition. A rental wet-vac and a fan cannot dry the space under a hardwood floor. In our Queens restoration work, we use Phoenix and Dri-Eaz floor mats that pull moisture out of wood flooring through negative air pressure, saving floors that would otherwise need to be pulled up and replaced. That’s not equipment a homeowner can replicate with a rental from a hardware store.
The point is not that homeowners should feel inadequate. The point is that the equipment exists on a completely different performance curve, and the performance gap is physical, not marketing. If the job is small and clean and the home is detached, a rental dehumidifier and a box fan can finish the job in a few days of attentive monitoring. If the job is anything beyond that, the equipment gap is the difference between a room that is actually dry and a room that looks dry.
The First Two Hours: What to Do Yourself Before Anyone Arrives
Whether you plan to dry the space yourself or call a professional, the first two hours determine how much damage the water does. Browse our more guides & resources for additional homeowner advice. These steps are safe for any homeowner to perform and do not interfere with professional drying. In fact, doing them correctly makes the professional job faster and cheaper.
Step 1: Stop the water at the source
Turn off the supply valve to the leak. If it’s a burst pipe, shut off the main water valve. If it’s an appliance, unplug it or shut off its supply line. If the water came from outside and is still entering, you need to stop the intrusion before extraction makes sense.
Step 2: Remove standing water
Use a wet-vac, towels, mop, or whatever you have. The goal is to get standing water off the surface. Every minute the water sits, it wicks further into porous materials. No professional will be upset that you already removed the easy water. It helps.
Step 3: Move contents up and out
Move furniture, rugs, books, boxes, and anything else off the wet floor. Prop upholstered furniture on blocks or foil under the legs to prevent wicking. Remove wet rugs and drape them over a railing or sawhorse to dry. This step saves more money than almost anything else you can do in the first two hours, because water-damaged contents are expensive to replace and cheap to protect.
Step 4: Document everything
Take photos and video of the wet area, the source of the water, and any contents that got wet. This is the foundation of an insurance claim. If you have a co-op or condo, this documentation also supports your report to the building management. Our crews take a photo of the clean-up before they leave every job; you should take a photo of the damage before you start yours.
Step 5: Call your insurance company
If the damage is significant enough to warrant a claim, call your insurer in the first 24 hours. Most policies require prompt mitigation, and the insurer will ask what you did to prevent further damage. Your list from steps 1 through 4 is your answer. If you’re calling a restoration company, mention that you’ve already documented the damage and begun mitigation; it speeds up the claim process.
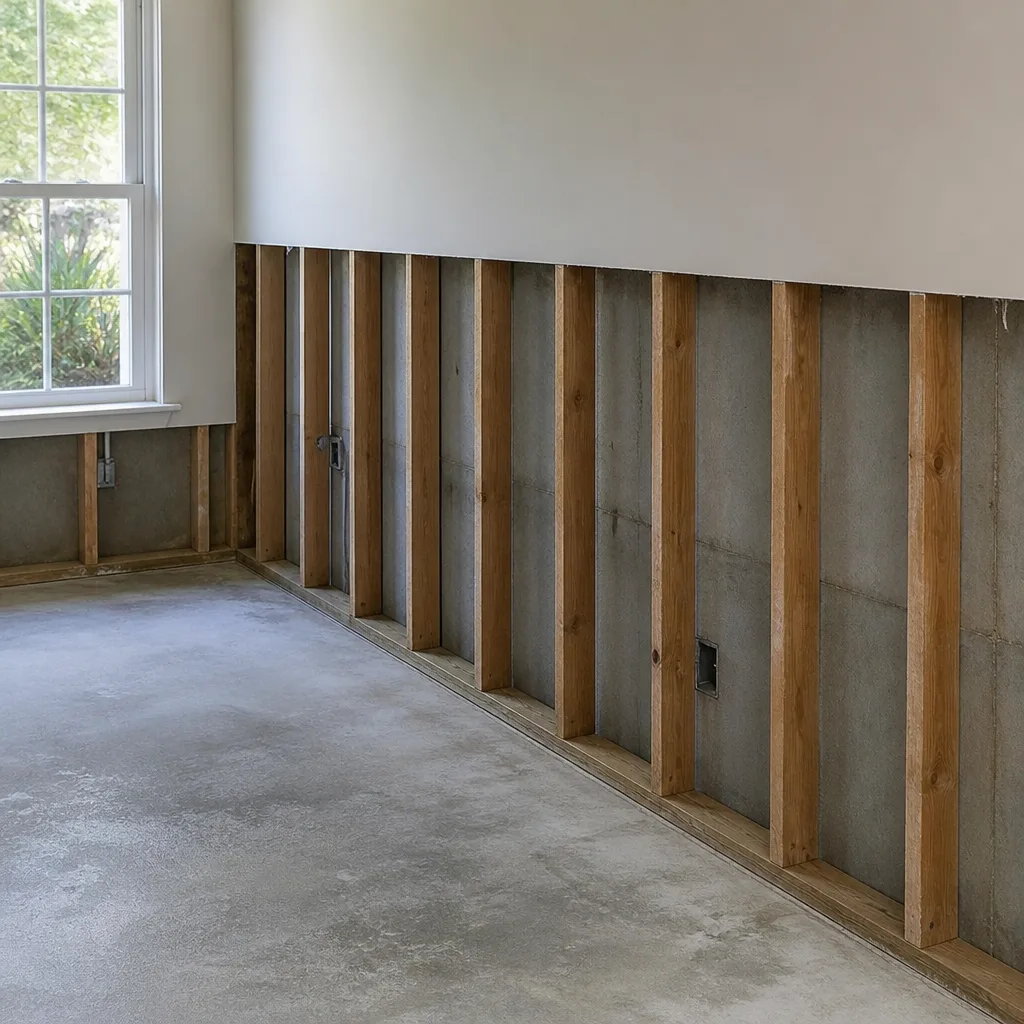
One caution: do not start cutting drywall or pulling up flooring in the first two hours. You may think you’re helping, but you’re actually destroying the evidence of where the water traveled and how far it spread. A professional uses moisture meters to map the actual water path, and that mapping is the basis for the drying plan. If you’ve already torn out the drywall, you’ve removed the information the drying plan needed.
The Shared-Wall Protocol: Notifying Your Neighbor Within 24 Hours
If you live in an attached home in Queens and you have a water event that touches a shared wall or floor assembly, notify your neighbor within 24 hours. This is both a courtesy and a legal protection, and it costs you nothing.
Here’s what to say: “We had a water issue on our side of the shared wall. We’re drying it now. We want to let you know so you can check your side for any signs of moisture, and so you have our contact information if you notice anything in the coming weeks.” Then give them your phone number and ask them to let you know if they see or smell anything unusual.
Here’s why this matters. First, prompt notification demonstrates that you took reasonable steps to address the problem, which matters if a liability claim ever arises. Second, your neighbor may have valuable information about the wall assembly, previous water events, or building quirks you don’t know about. Third, if the neighbor’s side of the wall does start showing moisture, catching it early means a smaller remediation job than if it goes unnoticed for months.
In our experience, most neighbor conversations go fine. People appreciate being told before they discover a problem on their own. The conversations that go badly are almost always the ones where the neighbor found out weeks later, after the smell started or the paint started bubbling. That’s when trust is gone and the conversation shifts from cooperation to blame.
If the water event was substantial enough that you’re hiring a professional, have the professional inspect the shared wall from both sides if the neighbor grants access. Moisture readings from both sides of a party wall are the gold standard for documenting that the wall was properly dried, and that documentation protects both homeowners if either property is sold within the disclosure window.
What DIY Actually Costs in Queens (and What Professional Restoration Costs)
Let’s put real numbers on the table. DIY drying is not free, and the costs add up in ways homeowners don’t always anticipate.
Typical DIY costs for a small water event in Queens:
- Wet-vac rental: $35 – $50 per day, or $80 – $120 for a basic homeowner model you’ll keep
- Consumer dehumidifier (purchase): $200 – $350 for a unit that removes 20 – 30 pints per day
- Box fans: $25 – $40 each; most rooms need two to three
- Moisture meter: $30 – $80 for a basic pin-type meter that will tell you if drywall is damp but won’t give you reliable readings in masonry
- Total out-of-pocket for a small job: roughly $300 – $550, assuming you buy the equipment and keep it
Now add the hidden costs. The electricity to run a dehumidifier and fans for five to seven days adds $30 – $60 depending on rates. The time you spend emptying the dehumidifier bucket, moving fans, checking moisture levels, and worrying about whether it’s actually working is real time with a real value. And the risk, as discussed above, is not zero in an attached home or with anything beyond clean water.
Professional restoration costs in Queens:
- Small Category 1 water event, one room, no structural damage: $800 – $1,500
- Medium event with drywall damage and carpet removal: $1,500 – $3,500
- Large event with structural drying, multiple rooms, or Category 2 water: $3,500 – $7,000+
- Mold remediation added to water restoration: $2,000 – $6,000 depending on the affected area
Most Queens homeowner insurance policies cover professional water damage restoration, minus the deductible, when the loss is sudden and accidental. Co-op and condo owners typically have a building policy covering structural elements and a personal policy covering interior finishes and contents. The professional restoration company works directly with your adjuster, provides photo documentation and moisture readings, and submits the scope of work in the format the insurer expects. That coordination is one of the main services you’re paying for beyond the drying itself.
At Tidemark Water Damage Queens, every job starts with a written price before any work begins. You see the number, you approve it, and that’s the number on the final invoice. We don’t work under time-and-materials ambiguity, and we don’t find “unexpected” charges halfway through the job. If the scope changes because the damage is worse than the initial assessment showed, we tell you in writing and get your approval before proceeding.
Common Mistakes to Avoid
- Drying a row house wall without checking the neighbor’s side. The moisture doesn’t know it’s supposed to stay on your side of the party wall. If you don’t check the other side, you’re guessing, and in a sale or a claim, guessing loses.
- Assuming a dry surface means a dry wall. The surface of drywall can feel bone-dry while the cavity behind it is still above 20% moisture content. A moisture meter is the only way to know, and masonry walls need professional-grade meters to read reliably.
- Using a consumer dehumidifier for a job that needs an LGR unit. A 30-pint-per-day consumer unit in a room with 20 gallons of water in the walls is like bailing a boat with a coffee cup. The job will fail, just slowly.
- Not reporting a water event to your co-op or condo board. Your proprietary lease requires it. Failure to report is a violation that can lead to fines, liability for building damage, and problems with your own insurance claim.
- Cutting out drywall before documenting the water line. You erase the evidence of how far water traveled, which hurts both your insurance claim and the professional’s ability to map the drying plan.
- Waiting to see if it “dries on its own.” In Queens summers, with outdoor humidity often above 70%, a wet wall will rarely dry on its own before mold conditions take hold. Time is a cost, not a solution.
- Not verifying the credentials of a restoration company. Ask for IICRC certification, insurance certificates, and local references. The restoration industry has low barriers to entry, and the cheapest quote often comes from someone with a truck and a rented dehumidifier. Our technicians at Tidemark carry IICRC, RIA, and IFA credentials, and we’re happy to show them to you before we start.
When to Call a Professional
Call a professional restoration company when any of these is true: the water is Category 2 or 3; the affected area exceeds 10 square feet; the water touched drywall, insulation, or structural framing; your home is attached to a neighbor’s; you plan to sell within five years; or you’ve already tried DIY drying and the moisture meter still shows elevated readings after five days. If you’re in Queens and any of these applies, Tidemark Water Damage Queens offers free estimates, and you can reach a live person at (607) 600-9946 any time, day or night. Shoe covers go on at the door. Drop cloths cover the floor before the first piece of equipment comes in. The price is written before any work starts, and a photo of the clean-up is shared before the crew leaves.
Frequently Asked Questions
Yes, if the water is clean, the affected area is under 10 square feet, and your home is detached. A wet-vac, box fans, and a rented dehumidifier can handle a small supply-line leak on a tile floor if you monitor the moisture levels daily. Outside those conditions, the risks to your walls, your neighbor’s walls, and your future ability to sell without disclosure issues outweigh the savings. Call (607) 600-9946 for a free assessment if you’re not sure.
Most small to medium water events dry in 3 to 5 days with commercial equipment. Larger events with structural drying, multiple rooms, or masonry walls can take 7 to 14 days. The timeline depends on the materials affected, the water category, and the drying conditions, not on the restoration company’s calendar. We’ll give you a written drying plan with expected duration before we start.
Most Queens homeowners policies cover sudden and accidental water damage, like a burst pipe or an appliance leak, minus your deductible. Gradual damage from long-term leaks is typically excluded, which is why prompt response matters. We work directly with insurance adjusters, provide photo documentation and moisture readings, and submit the scope in the insurer’s preferred format.
A tide mark is the line water leaves on a wall as it rises and falls. It’s the first thing our technicians look for on every job because it shows exactly how high the water reached and helps map where the moisture traveled. Finding the tide mark and drying past it is the difference between a wall that’s dry on the surface and a wall that’s dry all the way through.
Not necessarily, but you need to confirm the area actually dried. A moisture meter reading below the mold-growth threshold throughout the affected area is the standard. If you can’t confirm that, or if you see visible mold growth, you need professional mold remediation in Queens. Visible mold is usually the tip of a larger colony inside the wall cavity.
Our phones are answered by a live person 24 hours a day, 7 days a week. In most Queens neighborhoods, we can have a crew on site the same day you call, and we’ll give you an honest arrival window when you reach us at (607) 600-9946. Water damage doesn’t wait for business hours, and neither do we.
The Bottom Line
The DIY vs. professional decision comes down to three questions that take ten minutes to answer: what kind of water is it, how much area does it cover, and what kind of building do you live in. In a detached Queens house with a small clean-water spill, DIY drying is a reasonable choice. In an attached row house, with water that touched drywall, or with any plan to sell in the next five years, professional restoration with documented moisture readings is the financially safer route. Whichever way you go, Tidemark Water Damage Restoration is here for Queens homeowners who want a written price, a clean job site, and a company that stands behind its work for 365 days after the crew leaves.
Written by Rick Sumner, Owner at Tidemark Water Damage Queens, serving Queens since 2006.
See the difference
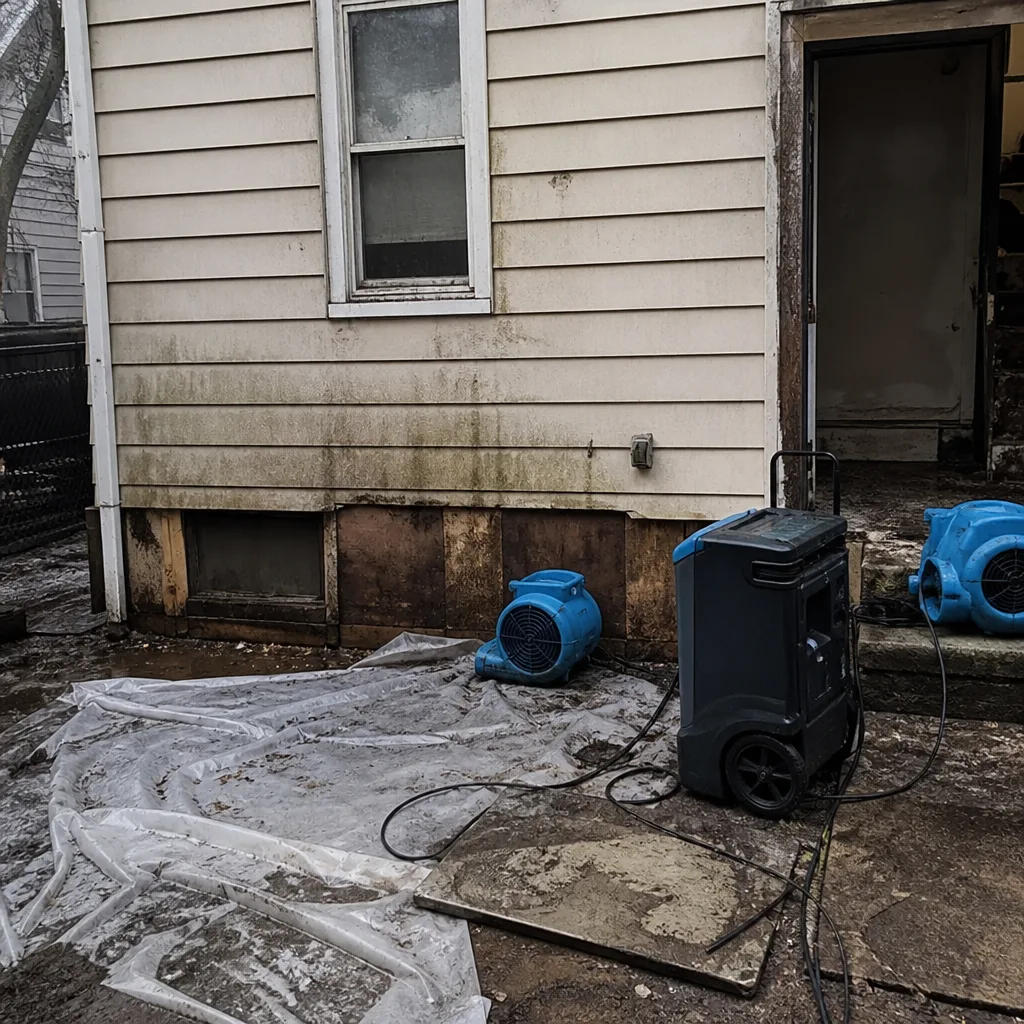 Before
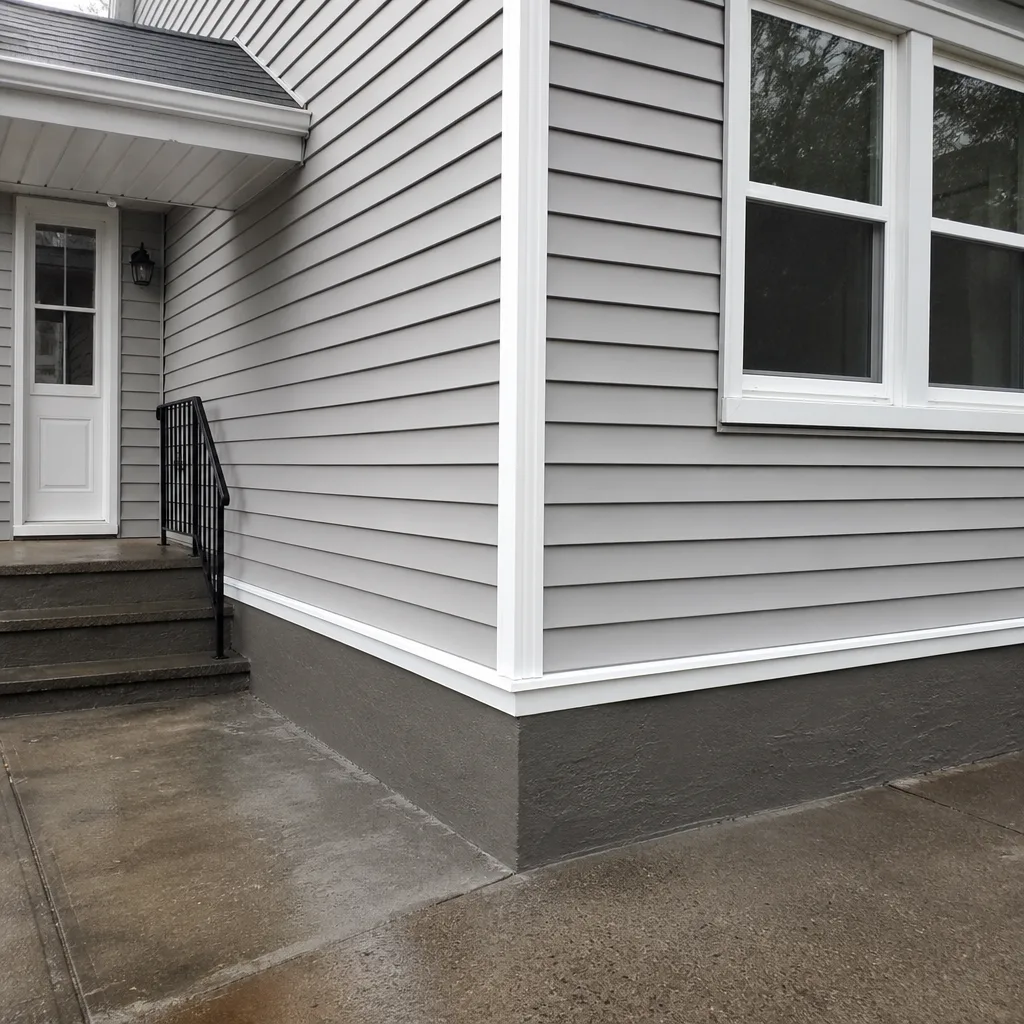 After
After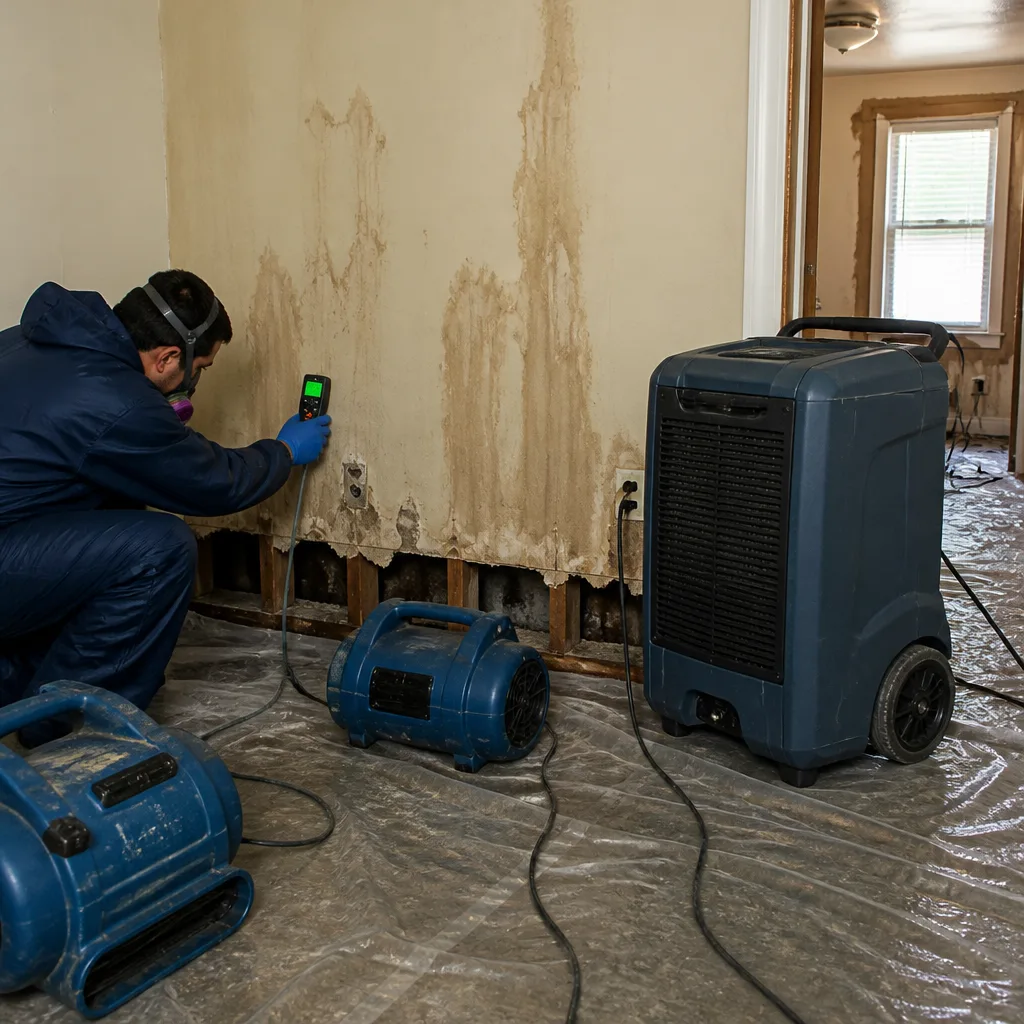 Before
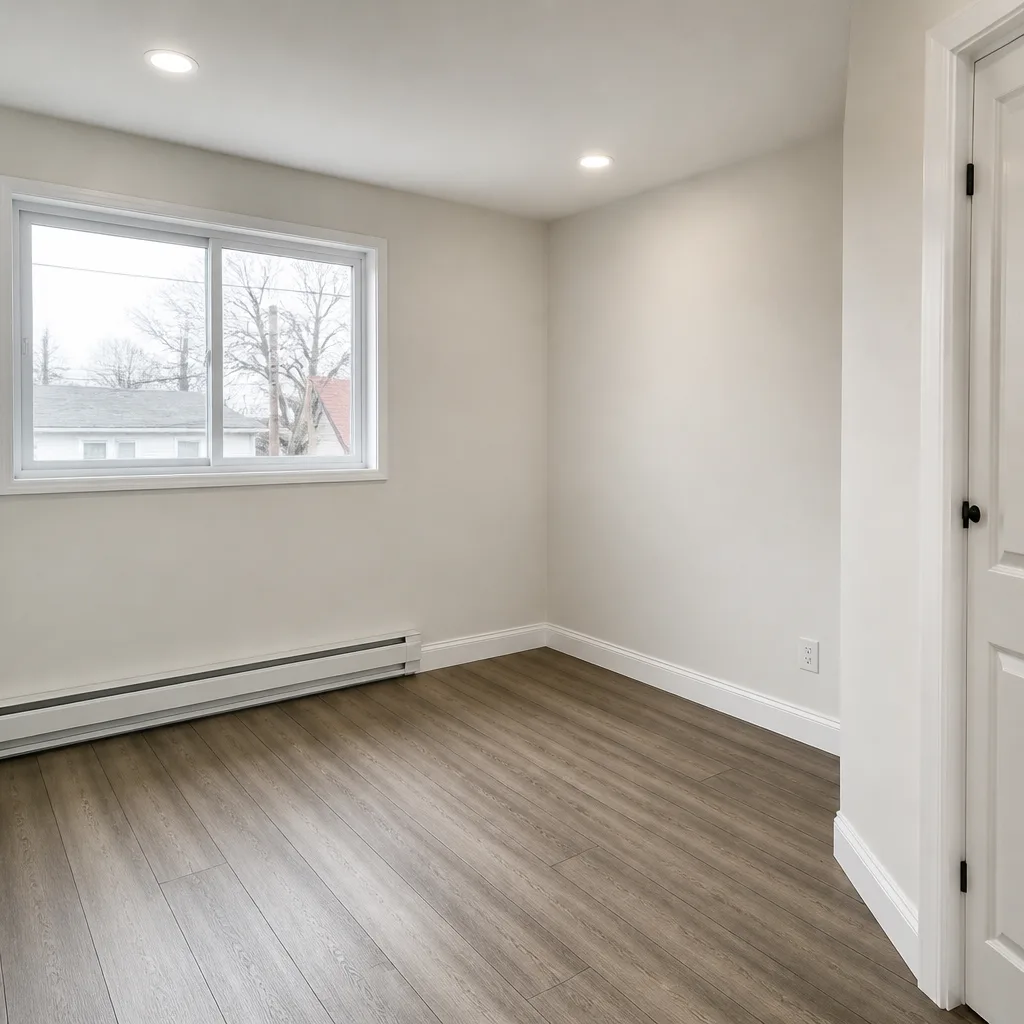 After
After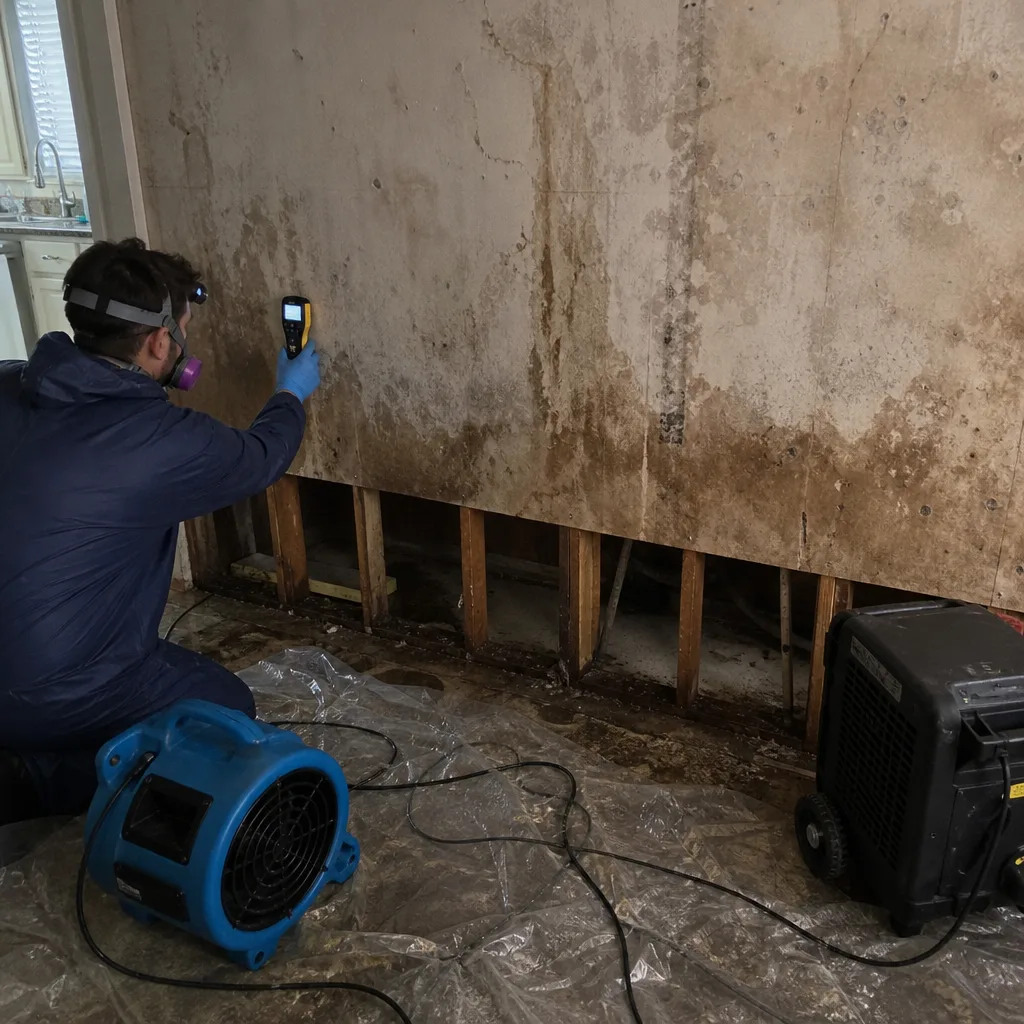 Before
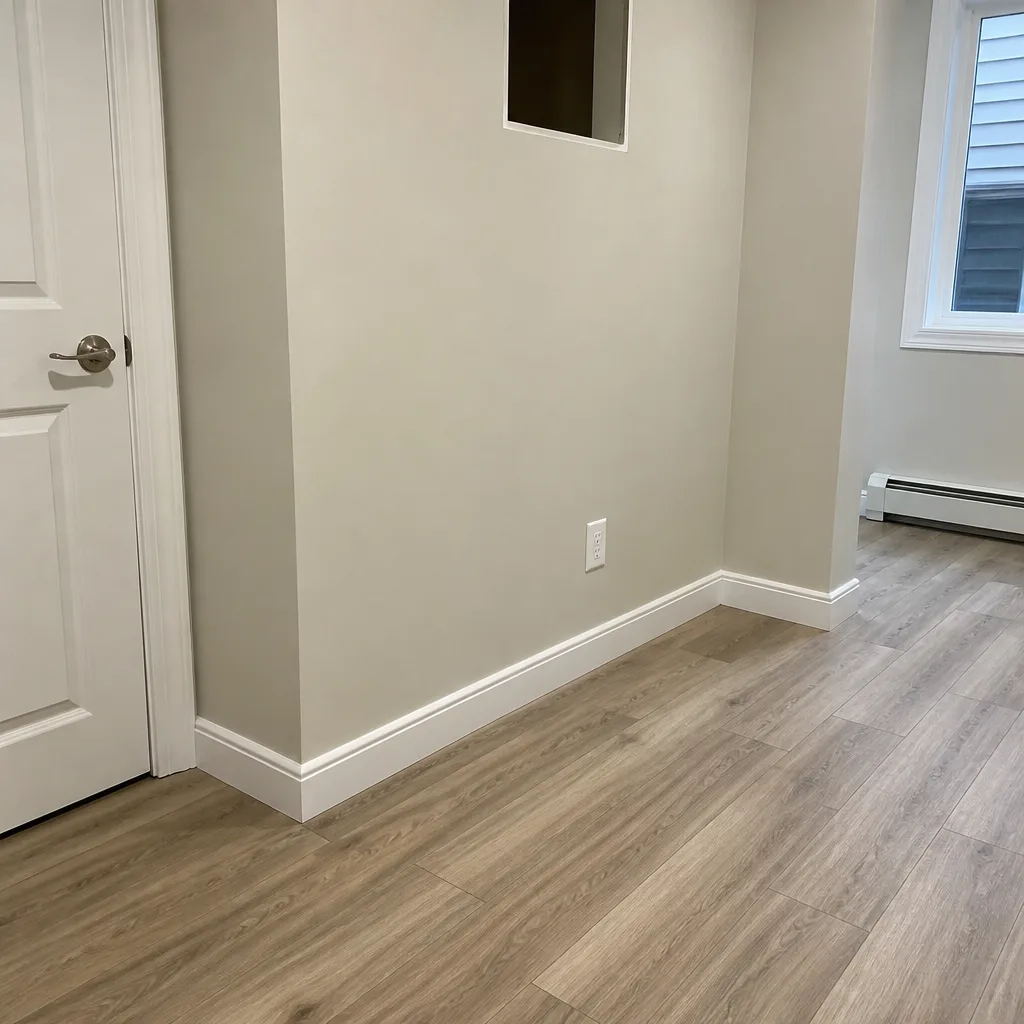 After
After